

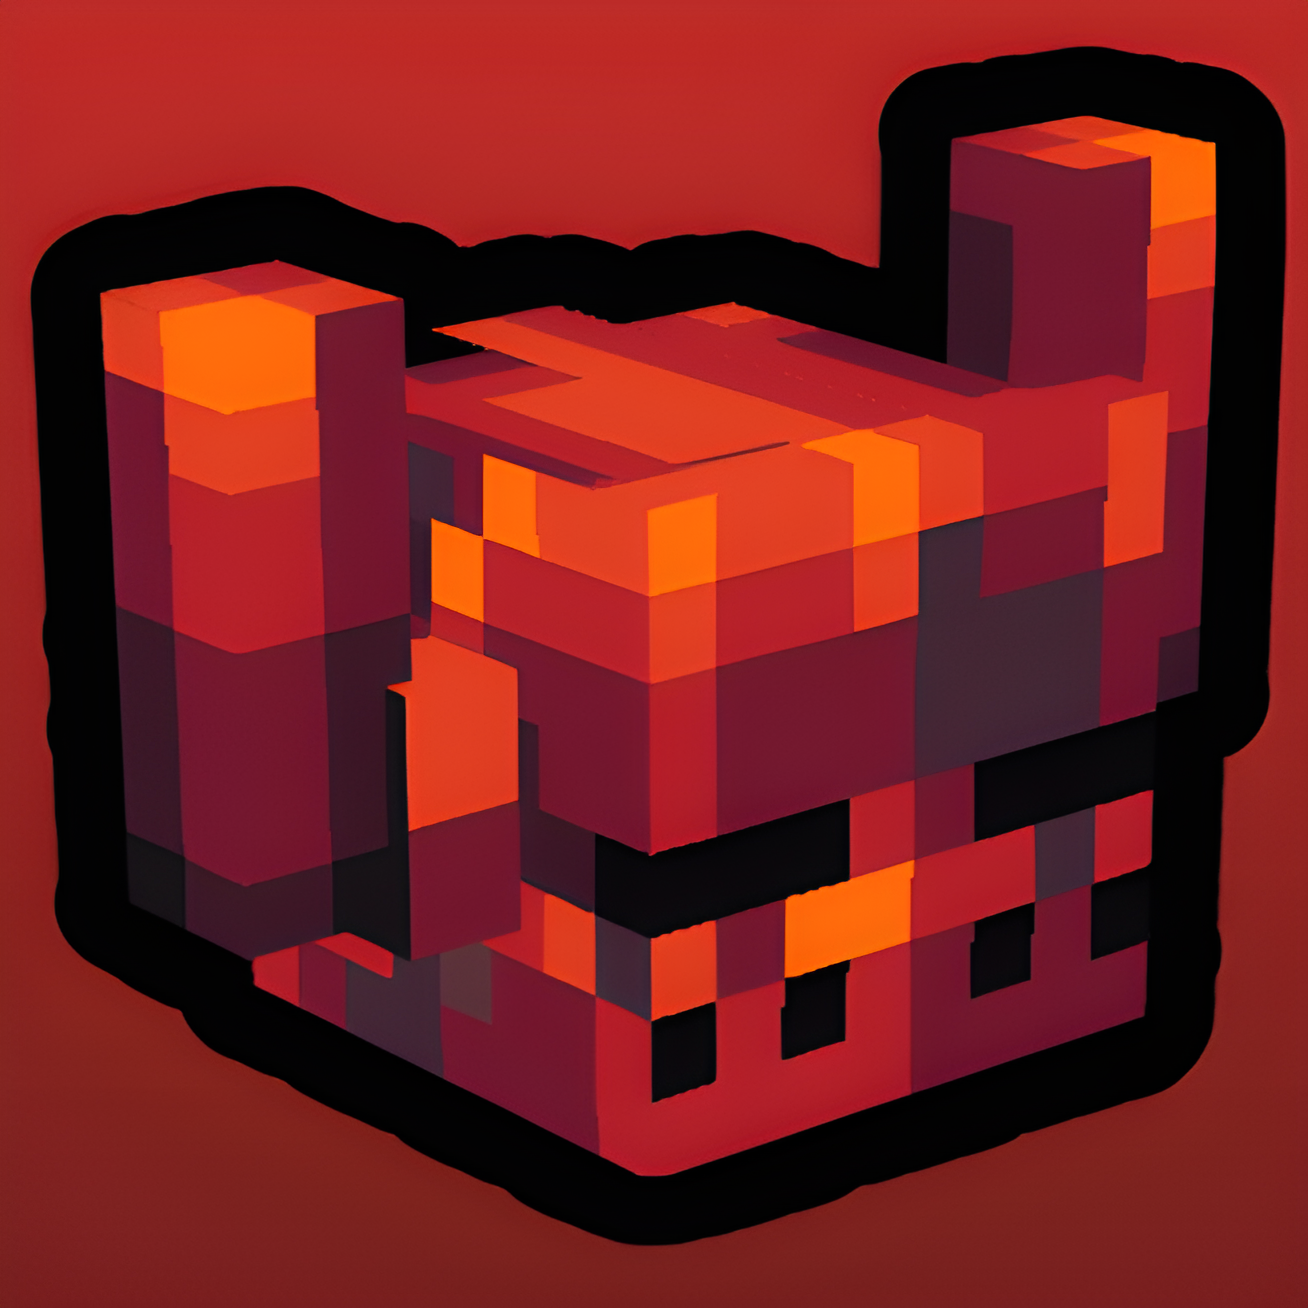
Knight Quest Reforged fills Minecraft with a full medieval layer of content, adding 10 hostile creatures across Overworld and Nether biomes, a three-phase boss named Netherman at the top of the progression ladder, and over 35 craftable armor sets, each with a distinct set bonus that changes how you play.
The whole mod flows through a single core mechanic: an essence economy that ties mob farming to crafting and keeps every piece of gear feeling earned.
Getting Started with Knight Quest Reforged
Every piece of unique gear in Knight Quest Reforged requires a Filled Goblet to craft. That Filled Goblet comes from the Great Chalice, a block you charge with Great Essences gathered from defeating new mobs. Understanding this loop from the beginning saves a lot of confusion and wasted farming time.
Players first encountering the mod often try to drink directly from the Great Chalice or right-click it empty, which does nothing. You need the Empty Goblet item first, which you then use to draw essence out of a fully charged Chalice. Once you know the sequence, the progression clicks into place naturally.
Farm Mobs for Small Essences
The new hostile mobs spread across biomes all have a chance to drop Small Essences on death. Four Small Essences combine at a crafting table into one Great Essence.

Early on, focus on whichever mobs spawn near your base. Ratmen in deserts and caves, Swampmen near rivers and jungles, and Eld Knights in snowy forests all produce Small Essences and make reliable early targets.
Craft Great Essences and Charge the Chalice
Craft and place the Great Chalice block, then right-click it repeatedly with Great Essences to charge it. The Chalice accepts offerings until it glows, signaling it is full. How many Great Essences the Chalice needs varies, but farming until the glow appears is the clear goal.


Keep the Chalice near your base since you will return to it throughout the entire mod’s progression.
Fill the Goblet
Craft an Empty Goblet, then right-click on the fully charged Great Chalice to extract a Filled Goblet. This item is the main ingredient in almost every Knight Quest armor recipe. Craft several Empty Goblets so you can refill them as you continue farming.

The Filled Goblet does not stack, so keep a chest nearby for storage.
Craft Armor Sets
Each armor set follows the same recipe pattern: a Filled Goblet combined with a base  Diamond armor piece and one additional unique ingredient. The
  Apple Helmet requires a Filled Goblet, a diamond helmet, and a golden apple. The
  Bat Helmet requires a Filled Goblet, a diamond helmet, and a bat membrane or related item.
Use a recipe viewer mod to check the exact layout for each set, as there are over 35 configurations.
The  Chaotic Essence dropped by Netherman is used to unlock a weapon’s active and passive abilities. Place the Chaotic Essence in a Great Chalice, then right-click the Chalice while holding your Knight Quest weapon. The ability activates once and is consumed when used, requiring another Chaotic Essence to re-enable. Do not use weapons with powerful abilities until you have defeated the boss and secured a supply of Chaotic Essences.
All Mobs in Knight Quest Reforged
Knight Quest Reforged adds 10 new creatures to your world. Most are hostile and drop Small Essences, forming the backbone of your crafting progression. Two creatures drop unique materials required for specific recipes, and one is a passive mob you can encounter in the wild.
Knowing where each mob spawns and how it fights lets you plan farming routes and avoid dangerous surprises.
Gremlin

Gremlin
Knight Quest ReforgedGremlins are Nether mobs that patrol all four major Nether biomes. At 35 HP and 5.5 damage per hit, they are manageable individually, but their phase mechanic makes them dangerous in groups.

When a Gremlin drops below 50% HP, it summons a swarm of Ghastlings, tiny flying creatures that dart at you from every angle. Kill the Gremlin quickly or expect the fight to spiral.
Gremlins can be distracted by tossing a  Gold Ingot near them. If you are low on health or need a moment to reposition, throw gold at the Gremlin and it will ignore you temporarily. This is not a long window, but it is enough to back off and heal.
Ratman

Ratman
Knight Quest ReforgedRatmen are the key source of the  Ratman Eye, which is required to craft the
  Paladin Sword. They spawn in Desert, Dripstone Caves, Lush Caves, and Jungle biomes with 22 HP and 4 damage.
At half health, they change tactics: some launch a rain of poison arrows while others throw smoke bombs and vanish with an invisibility effect. Stay mobile once a Ratman hits 50% HP.
Eld Knight

Eld Knight
Knight Quest ReforgedEld Knights are the most dangerous overworld mob in the mod, with 90 HP and 12 damage per swing. They walk slowly but hit hard.
At 50% HP, an Eld Knight summons three Eld Bombs around itself and begins generating poison clouds that deal damage to nearby players every few seconds. The Eld Knight can also passively heal itself after summoning its bombs, so deal with it quickly during the second phase.
Eld Bomb

Eld Bomb
Knight Quest ReforgedEld Bombs are small explosive mobs with 7 HP that function like Creepers. They spawn naturally in the same Forest, Taiga, and snowy biomes as the Eld Knight, and are also summoned by Eld Knights at half health. They rush toward you and detonate when close, so deal with any Eld Bomb immediately before returning focus to other threats.
Swampman

Swampman
Knight Quest ReforgedSwampmen appear near water-adjacent biomes: Beach, River, Jungle, and Sparse Jungle. With 50 HP and 7 damage, they are tough for an early encounter.
In melee they swing an axe, and at 50% HP they hurl the axe as a ranged attack. The thrown axe covers a surprising distance, so side-stepping or sprinting perpendicular to the Swampman when it winds up is safer than retreating in a straight line.
Ghosty

Ghosty
Knight Quest ReforgedThe Ghosty has only 1 HP and deals zero damage, making it appear harmless. It is not. While a Ghosty is alive, every other mob within range gains Resistance V, making them effectively immune to player damage.
A Ghosty hiding behind an Eld Knight or a pack of Ratmen will make the entire fight nearly impossible until it dies. It spawns in Forest, Taiga, Lush Caves, and Badlands, and dies instantly in direct sunlight. Always kill the Ghosty first in any multi-mob encounter.
Lizzy

Lizzy
Knight Quest ReforgedLizzy is a passive creature found in Forest, Taiga, Desert, and Lush Caves biomes. She is not aggressive and can be given diamonds to interact with.
On death, Lizzy has a 50% chance to drop a  Lizzy Scale, a crafting material used in certain recipes. A larger and rarer variant called Momma Lizzy also appears in the world.
Bad Patch

Bad Patch
Knight Quest ReforgedBad Patches are small, aggressive mobs that spawn in Jungle and Nether Wastes biomes. They tend to appear in clusters and move erratically.
They pose a low threat individually but can overwhelm an unprepared player when several converge at once. Clear them quickly and move on.
Fallen Knight

Fallen Knight
Knight Quest ReforgedThe Fallen Knight is a rare ambient spawn in Forest, Taiga, and Desert biomes with a very low spawn weight. It has 35 HP but only 0.5 damage, making it more of a visual encounter than a genuine threat. It drops essences on death and serves as a world-building detail suggesting past conflict in the mod’s lore.
Netherman Boss Guide
Netherman, the Architect of Chaos, is the endgame boss of Knight Quest Reforged. With 450 HP, 16 base damage, and three distinct combat phases, it is a significant challenge that rewards preparation and patience. The boss fight plays custom music and displays a full boss health bar, making it one of the most polished encounters in the mod.
Summoning Netherman
To summon Netherman, you need a  Radiant Essence. Craft it using the recipe below, charge the Great Chalice with Great Essences, then right-click the fully charged Chalice with the Radiant Essence in hand.

Netherman emerges from the Chalice and immediately becomes hostile. Choose a large, open area for the fight, because the boss transforms the terrain during each phase.


Boss Stats

Netherman, the Architect of Chaos
Knight Quest ReforgedThe Three Phases
Fire Phase (100% to 66% HP)
Standard combat. Netherman uses melee attacks and teleports a short distance every time it takes damage. It is immune to lava and fire damage during this phase.
This is the most controlled phase of the fight. Netherman attacks with direct melee and teleports after every hit, making it hard to predict its next position.

Stay calm, track the sound of its teleport, and face the new location before swinging. Avoid standing near lava pools since the boss can drag you toward them when it repositions.
Ice Phase (66% to 33% HP)
Netherman becomes temporarily invulnerable, creates ice clones of itself, and gains freeze attacks that slow movement.
When Netherman crosses 66% HP, it freezes in place, becomes invulnerable for several seconds, and spawns up to four ice clones that mirror its movements. The clones explode on contact, applying a freeze effect that slows your movement.
Identify the real Netherman by its boss health bar behavior and focus damage there once the invulnerability ends. Keep moving to avoid clone contact.
Darkness Phase (33% HP and below)
The most dangerous phase. Netherman fires darkness bombs, teleports constantly, and applies the Darkness effect to obscure your vision.
At 33% HP, Netherman transitions a second time, becoming invulnerable again briefly before unleashing its most aggressive behavior. It fires darkness projectiles that explode with a lingering Darkness effect, cutting your visible range to near zero. Milk buckets clear the effect instantly.
The boss also becomes immune to fall damage in this phase. Stay close and aggressive to limit the window it has to fire projectiles.
Boss Drops
Netherman Drops
 Chaotic Essence
 The Architect of Chaos Music Disc
 The Chaotic Essence is the key drop, used to unlock active and passive abilities on Knight Quest weapons. Bring the essence back to a Great Chalice and right-click the Chalice while holding your chosen weapon to activate them.
The Architect of Chaos Music Disc is a rare cosmetic drop featuring the boss fight theme.
Armor Sets Guide
Knight Quest Reforged includes over 35 full armor sets, each with a set bonus that activates when you equip the required number of pieces. All sets are crafted from a Filled Goblet, a Diamond base piece, and one unique ingredient per slot. Below is a breakdown of every set’s bonus, grouped by how they function in practice.
Combat and Damage Sets
The Veteran Set grants a damage boost and Resistance when your HP drops below 50%, which makes it exceptionally strong during boss fights and hard mob encounters where you are taking hits regularly.
The Conquistador Set gives a stacking damage boost each time you kill a monster, rewarding aggressive play and continuous mob clearing. The Dragon Set adds 15% extra damage on all attacks while also making you immune to dragon’s breath, a niche but effective offensive pickup.

The Blaze Set has a configurable chance to burn attackers on every hit they land against you, turning your defense into an offense. The Wither Set applies a wither effect to enemies hit by your arrows, synergizing with ranged playstyles. The Silver Set burns opponents at night, rewarding nighttime combat sessions.
Defense and Survival Sets
The Shield Set grants a passive Resistance effect as long as you wear the full set, reducing all incoming damage without any condition attached. The Squire Set provides general damage reduction, functioning as a straightforward damage sponge for early progression. The Creeper Set reduces explosion damage by up to 90%, which is exceptional if you are fighting in areas with Eld Bombs or Creepers nearby.

The Hollow Set converts 25% of incoming damage into health, functioning as a passive lifesteal on every hit you take, which scales well in sustained fights. The Forze Set has a chance to deflect incoming attacks back at the attacker.
The Deepslate Set reduces fall damage, useful for exploration. The Polar Set protects against freeze effects, which is particularly relevant during the Netherman ice phase.
Mobility and Utility Sets
The Path Set grants Speed II during the day when outdoors, making overland travel significantly faster without any resource cost. The Bow Set gives Speed II whenever you are holding a ranged weapon, rewarding a hit-and-run bow playstyle.
The Phantom Set grants Speed I at night. The Shinobi Set grants speed when you take a hit, turning damage into a brief escape window. The Bat Set gives Night Vision while underground or at night, removing the need for torches or night vision potions in caves. The Spider Set grants Jump Boost II while sneaking, letting you reach elevated terrain.

The Tengu Mask (helmet only) lets you double jump mid-air. The Enderman Set has a 40% chance to teleport you within 10 blocks when you take a hit, randomly repositioning you away from danger. The Sea Set grants Dolphin’s Grace when submerged, increasing your swim speed significantly. The Straw-Hat Set provides permanent Water Breathing.
The Nether Set grants Fire Resistance. The Skeleton Set makes your arrows pierce through enemies, hitting multiple targets in a line with each shot.
Situational and Unique Sets
The Warlord Set grants Resistance to nearby players rather than yourself, making it the dedicated team support set for multiplayer. The Skulk Set grants Resistance II below light level 4, rewarding deep-cave adventuring. The Silverfish Set grants Haste below a configurable Y level, speeding up underground mining. The Witch Set grants Regeneration every time you kill a monster.
The Apple Set amplifies the effects of golden apples, extending their duration or boosting their healing. The Husk Set grants Resistance II in desert biomes. The Bamboo Set pushes nearby entities away when you land from a fall.
The Blue Bamboo Set grants Speed in jungle and bamboo biomes. The Green Bamboo Set grants poison protection. The Zombie Set heals HP at night on a repeating timer. The Evoker Set has a chance to apply Darkness to attackers when you are hit.
Best Armor Sets in Knight Quest Reforged
With over 35 armor sets to choose from, narrowing down the best options depends on your playstyle. These three stand out for general use, boss encounters, and group play respectively.
#1: Veteran Set (Best for Boss Fights)


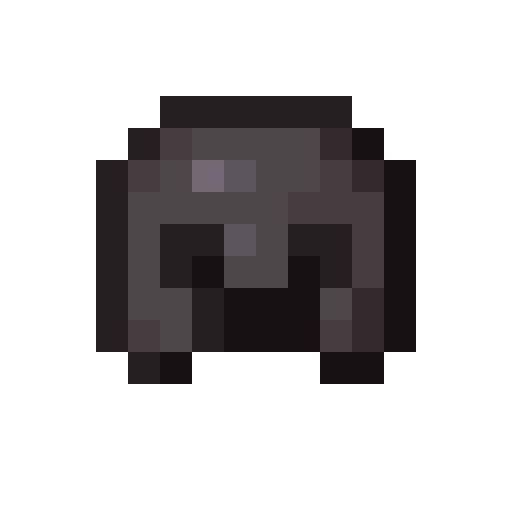

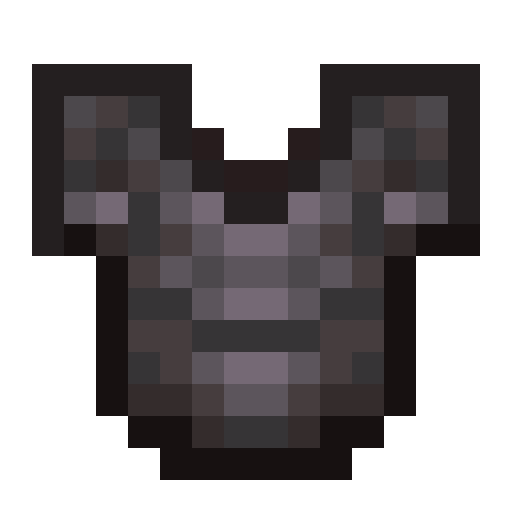


The Veteran Set activates a damage boost and Resistance when you drop below 50% HP, exactly the moment when most fights become critical. Against Netherman specifically, you will spend a significant portion of Phase 2 and Phase 3 below half health, meaning the Veteran bonus is almost always active when it matters most. This set turns a dangerous HP deficit into a combat advantage and is the top recommendation for the boss fight.
#2: Warlord Set (Best for Multiplayer)


The Warlord Set grants Resistance to nearby players, making the wearer the team’s dedicated support. In multiplayer boss encounters, one player running the Warlord Set lets the whole group take significantly less damage, more than offsetting the lack of personal offensive bonus. In solo play, the Veteran Set outperforms it, but in group content the Warlord player is the most valuable person in the raid.
#3: Skeleton Set (Best for Ranged Players)


Arrow piercing lets every bow shot hit multiple enemies in a line, turning crowd control situations into efficient clears. Against a Netherman surrounded by ice clones, a piercing arrow can hit the real boss and multiple clones in one shot. Combined with the Bow Set’s Speed II bonus when holding a ranged weapon, ranged players have a strong two-set option to consider for their endgame loadout.
For solo boss fights, use Veteran. For group play, have one player run Warlord. For ranged builds, pair Skeleton armor with a bow. The Hollow Set is an underrated solo pick if you prefer consistent sustain over burst damage windows.
Weapons Guide
Knight Quest Reforged adds six special weapons, each with its own active and passive ability that unlocks after you charge it with Chaotic Essence at the Great Chalice. Two additional weapons, the  Steel Sword and Water Sword, are simpler options without the special ability system. All six special weapons are crafted using Great Essence as the repair material, and all require Chaotic Essence activation to enable their full ability set.
Damage
Speed
Durability
Paladin Sword


The Paladin Sword deals 10 damage at 1.4 speed with 2350 durability, making it one of the most reliable all-round weapons. Its passive ability regenerates 1 HP every 1.5 seconds while your health is below 50%, giving it a built-in sustain loop during hard fights.
Its active ability grants 5 seconds of invulnerability on right-click, with a cooldown of roughly 25 seconds. This makes it excellent for surviving a dangerous boss hit or avoiding death during a phase transition. The Paladin Sword requires a Ratman Eye, dropped by Ratmen, to craft.
Cleaver


The  Cleaver is the highest damage weapon in the mod at 12 per swing, with a very slow 0.8 attack speed. Its passive ability increases damage by 20% against enemies above 50% HP, rewarding aggression in the opening of every fight. Its active ability grants a 30-second rage state combining Resistance and extra damage, transforming it into a boss-melting tool.
The slow speed requires careful timing, but the damage output when timed well is unmatched.
Uchigatana


The  Uchigatana deals 8 damage at 1.8 speed, offering a faster rhythm than the Cleaver or
  Khopesh. Its passive deals 20% extra damage against enemies below 50% HP, which is the opposite of the Cleaver’s passive and rewards finishing wounded targets quickly. Its active ability charges the next strike to inflict Darkness on the target and deal 60% bonus damage, making that one hit exceptionally powerful when timed correctly.
Khopesh


The Khopesh matches the Paladin Sword at 9 damage and 1.4 speed but offers a very different ability set. Its passive gives a 15% chance to set enemies on fire on each hit. Its active ability reflects incoming attacks for 8 seconds, turning the attacker’s own damage against them.
This makes the Khopesh especially strong against fast-hitting enemies where the reflection window catches multiple attacks.
Kukri


The  Kukri is a fast dagger with only 4 damage per hit but 3.0 attack speed, the fastest in the mod. Its passive ability freezes enemies after rapid consecutive hits, allowing crowd control through sustained light strikes. Its active ability grants a 6-second speed boost on right-click.
The Kukri works best as a secondary weapon for chasing down fleeing targets or freezing high-priority mobs like Ghosties before they buff nearby enemies.
Nail Glaive


The Nail Glaive deals 9 damage at 1.6 speed and is the most mobile weapon in the set. Its passive ability grants a double jump in mid-air, permanently changing your traversal. Its active ability performs a fast forward dash, covering distance instantly.
These two abilities together make the Nail Glaive the best weapon for players who want to control positioning, whether in exploration or repositioning during the Netherman darkness phase.
Samhain: The Companion Golem
Samhain is a buildable companion golem, similar in concept to an Iron Golem but tamed with Knight Quest essences. Building Samhain requires placing four Gold Blocks in a T shape and placing a Jack o’Lantern (a pumpkin lit with a torch) on top, the same construction as an Iron Golem but using gold instead of iron. Once built, the Samhain comes to life but starts untamed.
To tame Samhain, approach it and offer Great Essences by right-clicking while holding them. Once tamed, Samhain follows your commands: you can order it to stay in place, follow you, or return to a position. Tamed Samhain increases its HP from 8 to 20 and becomes a loyal combat companion that fights alongside you.
You can also equip it with armor by shift-clicking to open its equipment slots, improving its durability in combat.
The  Squire Helmet tooltip reads: “For some reason, Samhain loves this hat.” Equipping a Squire Helmet while interacting with a Samhain may have special behavior or is at minimum a fun detail from the developer referencing the companion’s personality.
Tips for Success
Kill the Ghosty before anything else in a multi-mob fight. Every experienced Knight Quest Reforged player learns this the hard way: a Ghosty hiding in a group makes nearby mobs effectively unkillable. One hit is all you need since it has 1 HP, but if you miss it or do not notice it, you will spend a confusing few seconds wondering why your attacks are doing nothing to the Eld Knight in front of you.
Do not try to fight Netherman in your Great Chalice room. Players who summon the boss in a tight space quickly discover that its terrain-altering attacks turn a small arena into an unnavigable hazard zone. Lava pools appear in Phase 1, ice patches in Phase 2, and darkness projectiles fill Phase 3.
Build or find a large open arena at least 20 blocks wide before summoning. The boss restores terrain blocks after dying by default, but the fight itself will be far easier with space.
Bring milk buckets to the Netherman fight. The Darkness effect in Phase 3 cuts your vision to near zero and is the most disorienting part of the entire boss fight. Milk clears all effects instantly, so bringing four or five buckets guarantees clear vision when you need it most.
Players who skip milk buckets often find Phase 3 nearly impossible. Those who bring them find it manageable.
Activate your weapon before entering the boss arena. Weapon abilities require a Chaotic Essence from Netherman, but you can carry one over from a previous run or trade with other players who have extras. If your weapon is not activated, you are missing the passive and active bonuses for the entire fight.
A Paladin Sword with its passive HP regen active makes the early phases of the boss significantly more sustainable.
Use the Gremlin’s gold distraction when you are in the Nether and under pressure. Throwing a Gold Ingot buys a brief window of safety that can be the difference between retreating to heal or dying. It is especially useful when a Gremlin has already summoned Ghastlings and you are surrounded.
Back off, throw gold, heal, then re-engage and finish the Gremlin before its next phase.
Frequently Asked Questions
Craft a Great Chalice block and place it. Right-click the Chalice with Great Essences repeatedly until it glows, indicating it is full. Then craft an Empty Goblet and right-click the charged Chalice with it. This converts the Empty Goblet into a Filled Goblet. The Filled Goblet is the main ingredient for all Knight Quest armor sets, so you will repeat this process many times throughout the mod.
A Ghosty is almost certainly nearby. Ghosty grants Resistance V to all mobs within range while it is alive, making them nearly immune to damage. The Ghosty itself has 1 HP and dies to a single hit, but it is small and easy to miss. Scan the area around the group of mobs you are fighting, kill the Ghosty first, and normal damage will return. Ghosty also dies in direct sunlight, so fighting in open daylight areas helps.
Craft a Radiant Essence using its recipe, charge the Great Chalice fully with Great Essences, then right-click the charged Chalice while holding the Radiant Essence. Netherman will emerge and the boss fight begins immediately. Choose a large open area before summoning, because the boss creates lava pools, ice patches, and darkness during the three phases, which turn small spaces into environmental hazards.
Defeat Netherman to obtain a Chaotic Essence. Place the Chaotic Essence in a Great Chalice (the Chalice must be in Chaotic state), then right-click the Chalice while holding your Knight Quest weapon. The weapon’s active and passive abilities are now enabled. Using the active ability (right-click) consumes the activation, requiring another Chaotic Essence to re-enable. The passive ability remains active as long as the weapon has been charged at least once.
Build a T-shape with four Gold Blocks (same layout as an Iron Golem) and place a Jack o’Lantern on top. The Samhain will spawn but it is untamed. Right-click it while holding Great Essences to tame it. Once tamed, use right-click to command it to follow or stay, and shift-click to open its armor slots. A tamed Samhain has 20 HP and will fight alongside you.


