

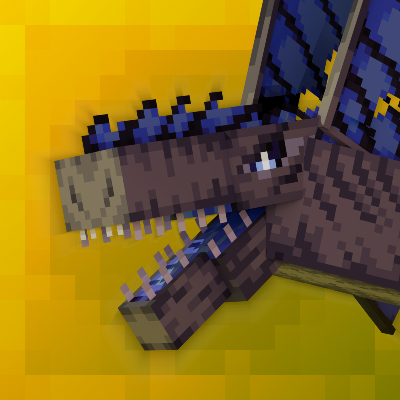
Monster Expansion adds three massive boss monsters and a companion system to Minecraft. The mod introduces Skrythe, Leivekilth, and Rhyza, plus the Kobeko companion. Players hunt these powerful bosses to collect 19 unique crafting materials for endgame armor sets, weapons, and specialized equipment crafted at The  Foundry workstation.
Each boss features complex attack patterns, breakable body parts, and phase transitions. Skrythe dominates the Overworld skies with 750 health and sonic attacks. Leivekilth lurks in frozen oceans with 750 health and devastating ice breath. Rhyza prowls the End dimension with 500 health, invisibility, and blinding speed. Defeating these monsters yields materials for three complete armor sets plus unique weapons.
The Kobeko companion fights alongside players during boss encounters. Found wild in any Overworld biome, Kobekos can be tamed with  Golden Apples and equipped with custom armor crafted from boss materials or vanilla metals. Players can only have one Kobeko companion at a time, making the choice of armor variant important for different combat situations.
Getting Started
Before tackling Monster Expansion’s bosses, prepare the following gear for your first encounter. Skrythe, the Overworld boss, serves as the entry point to the mod’s content and should be your first target.
Required Preparation
Equip full  Diamond or Netherite armor with Protection IV enchantments as a minimum requirement. Bosses deal 10-15 damage per hit and have 500-750 health, making this a significant step up from vanilla Minecraft combat. A
  Netherite sword with Sharpness V provides necessary damage output, while a
  bow with Power V and multiple stacks of
  arrows handles aerial phases.
Stock your inventory with Golden Apples for emergency healing during fights. Each boss encounter lasts approximately 10-15 minutes when well-prepared, with first attempts potentially taking longer as you learn attack patterns. Bring backup weapons and armor if available, as bosses can quickly wear down equipment durability.
Recommended Boss Order
Fight Skrythe first, as it spawns in all Overworld biomes and requires no dimensional travel. After defeating Skrythe, craft The Foundry using basic materials (4 Planks, 1  Iron Ingot, 2 Logs) to process your boss drops into armor. The Skrythe armor set provides sonic resistance useful for future Skrythe farming.
Challenge Leivekilth second in Frozen Ocean biomes after upgrading to Skrythe armor. Leivekilth hits harder at 15 damage per attack and requires Netherite-tier protection. The Leivekilth armor set offers the highest defense rating in the mod, preparing you for endgame content.
Fight Rhyza last in the End dimension after defeating the Ender Dragon. Despite having only 500 health, Rhyza’s invisibility and speed mechanics make it the most technically challenging boss. Bring Night Vision potions to track Rhyza when cloaked.
After Your First Kill
After defeating Skrythe, collect the guaranteed drops:  Monster Hardbone and
  Skrythe Armorplate. Craft The Foundry at a regular
  crafting table, then use The Foundry’s 5×5 grid to create Skrythe armor pieces. Consider taming a Kobeko companion with Golden Apples to assist in future boss fights. The
  Kobeko Locator, crafted with 3 Monster Hardbones, helps locate wild Kobekos.
Skrythe
Skrythe is a flying wyvern that dominates aerial combat with sonic-based attacks and devastating dive bombs. With 750 health, 5 armor, and 12 damage per hit, Skrythe serves as an accessible first boss for players ready to tackle Monster Expansion content. This creature alternates between ground and aerial combat phases, using sound waves that bypass armor. Expect a 10-15 minute fight when well-prepared with Diamond or Netherite gear.
Finding Skrythe
Skrythe spawns naturally in all Overworld biomes including Plains, Forests, Mountains, Deserts, and Tundra’s. Look for this large flying creature soaring at high altitudes or perched on tall terrain features. Skrythe appears as a massive wyvern with distinct frills and wing membranes, making it visible from long distances during the day.

The boss requires open vertical space for aerial attacks, so encounters typically occur in areas with clear skies. Skrythe has a very low spawn weight (1) compared to normal mobs, making it rare but findable with exploration. Scout from mountain peaks or tall structures to spot Skrythe flying in the distance.
Boss Stats & Phases
Skrythe has 750 health, 5 armor, and deals 12 damage with melee attacks. The boss features multiple breakable parts: the head for stagger (100 HP) and full break (300 HP), both wings (225 HP each), and tail (300 HP). Breaking the head causes extended stun opportunities, while breaking both wings permanently grounds Skrythe and prevents all aerial phase attacks.

The battle alternates between ground and aerial modes based on Skrythe’s behavior. During ground phase, Skrythe uses close-range physical attacks and ground-based sonic abilities. When airborne, the boss flies and hovers while using ranged projectiles and dive attacks. An enraged state activates at low health, increasing attack frequency and introducing more aggressive combo patterns.
Combat Mechanics & Attacks
Skrythe uses 24 different attack patterns, but focus on recognizing the five most dangerous moves. The Seismic Roar ultimate attack creates a massive circular shockwave that deals heavy damage even at range – sprint away immediately when Skrythe begins the roar animation. The Aerial Assault dive bomb shows a clear telegraph with Skrythe rising to maximum height before diving, giving time to sprint perpendicular to the dive path.
The Charge attack rushes forward in a straight line dealing high damage – dodge sideways rather than backing away. Ground Orb and Air Orb fire distortion projectiles that track players and require active dodging. Tail attacks (Tail Slam, Tail Swipe) cover the rear and sides with wide arcs, so position in front of Skrythe during ground phase.

Most other attacks deal moderate damage and have shorter ranges, including various bite, claw, kick, and wing strikes. Learn to identify the telegraphs for Seismic Roar, Aerial Assault, and Charge first, as these are the fight’s one-shot threats. Expect the first clear attempt to take 10-15 minutes as you learn the patterns.
Combat Strategy
Equip full Diamond or Netherite armor with Protection IV enchantments before fighting Skrythe. Bring a Netherite sword with Sharpness V for ground phase damage and a bow with Power V plus plenty of arrows for aerial phases. Pack Golden Apples for emergency healing and bring a Kobeko companion equipped with at least Iron armor for additional support.
Focus attacks on Skrythe’s wings during ground phases using slashing weapons that deal bonus damage to wing parts. Breaking both wings prevents all aerial phase attacks, simplifying the fight to ground-only combat and removing the need for ranged attacks.
During ground phase, stay close to exploit openings after Front Bite and Charge attacks. Watch for the Tail Slam telegraph (tail raising) and dodge to the sides. When Skrythe takes flight, immediately switch to a Bow and aim for the head or wings. The Aerial Assault dive bomb shows a clear telegraph with Skrythe rising high, giving players time to sprint perpendicular to the dive path.
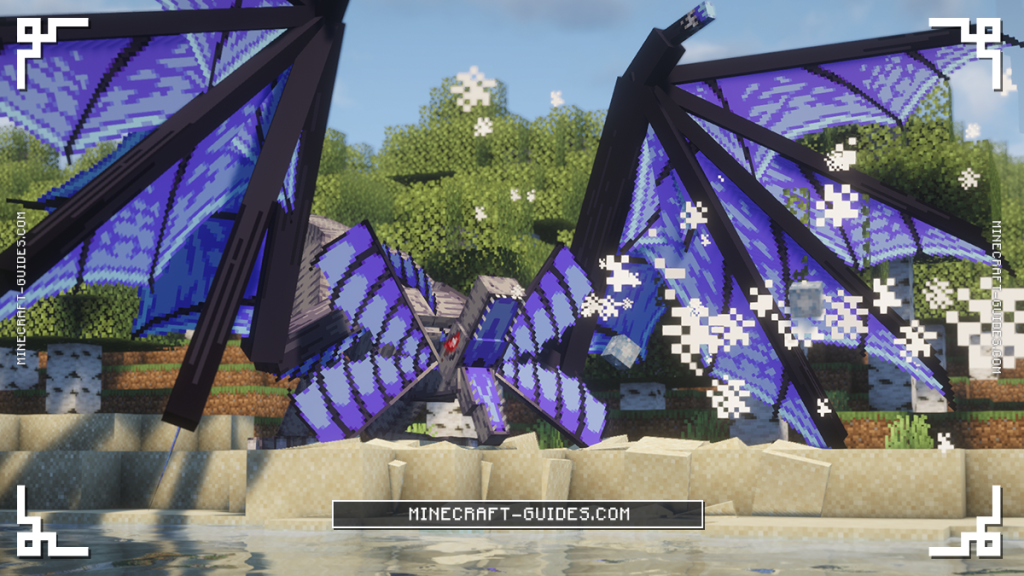
The Seismic Roar attack creates a massive circular area effect. When Skrythe begins the roar animation, sprint to maximum range immediately. During enraged phase, expect faster attack chains and reduced cooldowns. Breaking the head early reduces overall damage output and creates frequent stagger opportunities for free damage.
Boss Drops & Rewards
Upon defeat, Skrythe drops multiple crafting materials essential for armor and weapon progression. The Looting enchantment increases drop quantities per level but does not affect drop chance percentages.
Skrythe Drops
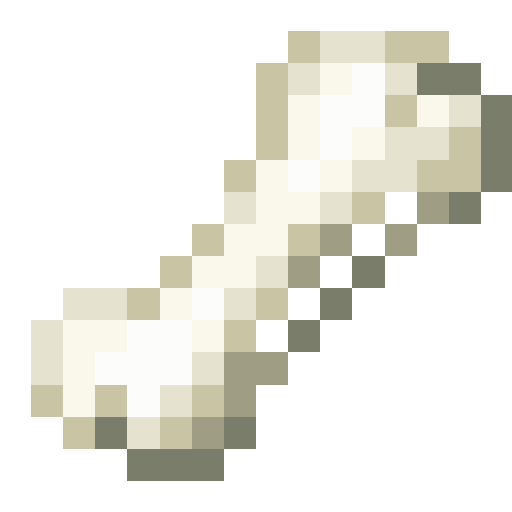 Monster Hardbone
 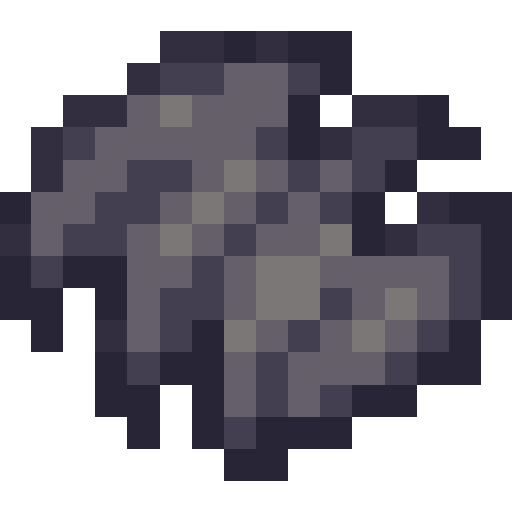 Skrythe Armorplate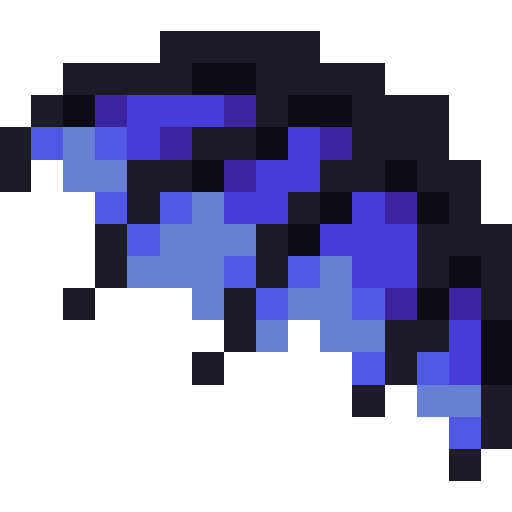
 Skrythe Frill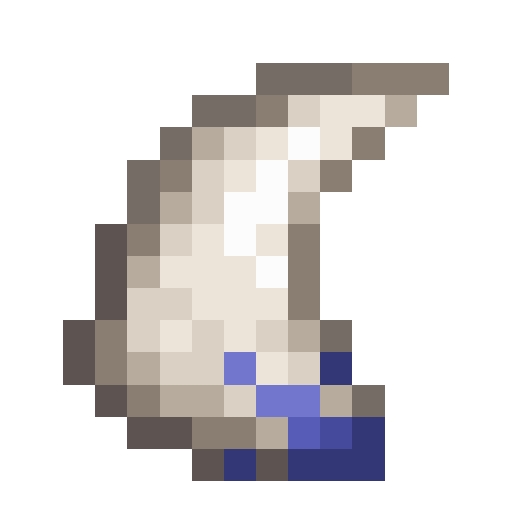
 Skrythe Fang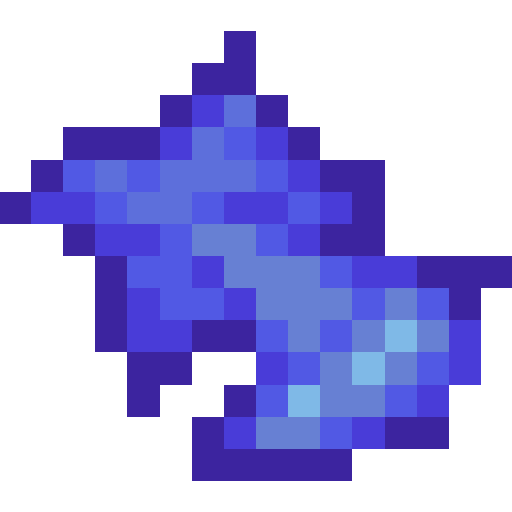
 Skrythe Wing Membrane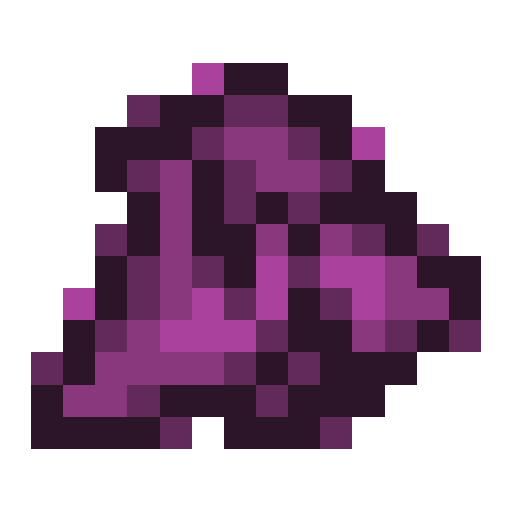
 Vocal Resonance Fold
 Crafting with Skrythe Drops
Skrythe materials craft a complete armor set at The Foundry. The  Skrythe Helmet requires 8 Skrythe Armorplate, 2 Skrythe Frill, and 2
  Netherite Ingot arranged in The Foundry’s 5×5 grid. Other armor pieces follow similar patterns using Skrythe Armorplate as the primary material with Netherite Ingot reinforcement.
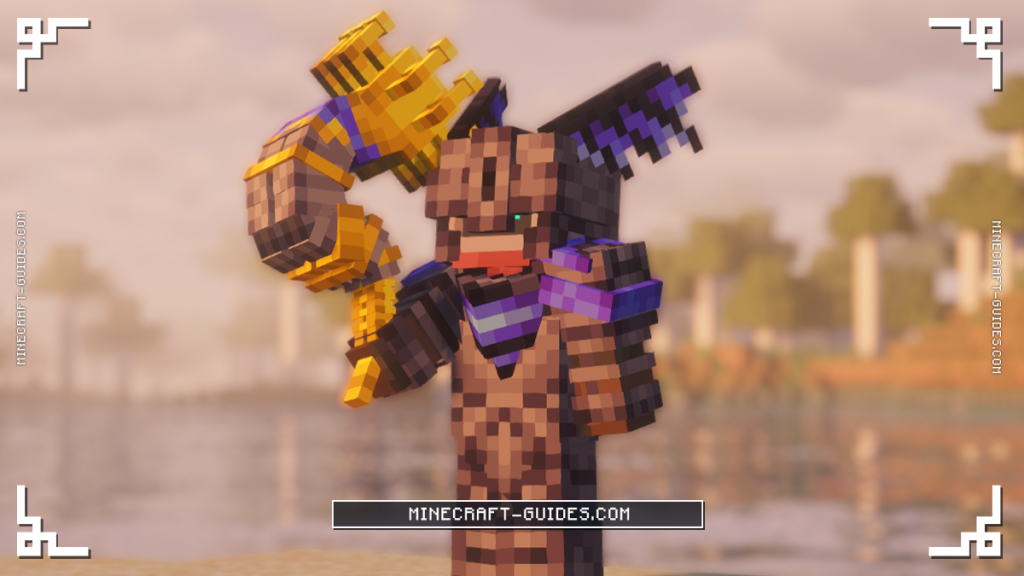
The Vocal Resonance Fold, Skrythe’s rarest drop at 25 percent chance, crafts the  Horn Of The Shattercry weapon. This unique horn unleashes sonic blasts that bypass enemy armor, making it valuable against heavily armored opponents. Skrythe Wing Membrane combines with other materials to create Kobeko Skrythe armor variants that grant sonic resistance to your companion.
The Foundry
The Foundry serves as the central crafting station for all Monster Expansion equipment. This specialized workstation is required to craft boss-tier armor, weapons, and Kobeko gear. Craft The Foundry immediately after defeating your first boss, as it uses only basic materials but unlocks all boss armor recipes.
The Foundry crafts using a 5×5 grid instead of the standard 3×3, allowing complex recipes with multiple material types. Right-click the placed Foundry block to access the crafting interface. All boss armor, most weapons, and Kobeko equipment require this station.


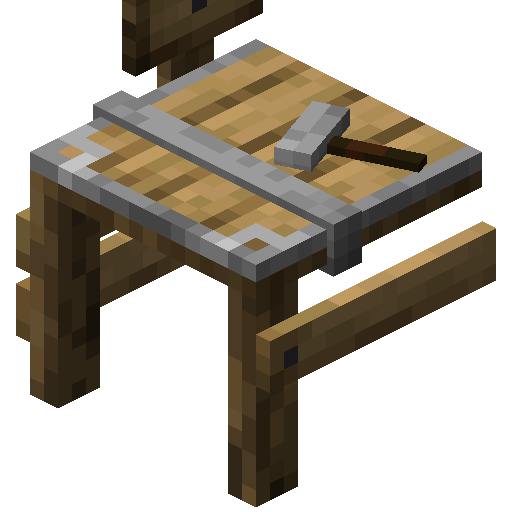
Craft The Foundry at a regular crafting table using 4 Planks, 1 Iron Ingot, and 2 Logs. Place Planks in the top-left and top-right corners, the Iron Ingot in the top-center, and Logs in the bottom-left and bottom-right corners. This early accessibility ensures players can start crafting immediately after their first boss kill.
Leivekilth
Leivekilth is an elder dragon that dominates three combat environments with devastating ice attacks. With 750 health, 5 armor, and 15 damage per hit (the highest in the mod), Leivekilth represents a significant step up in difficulty from Skrythe.
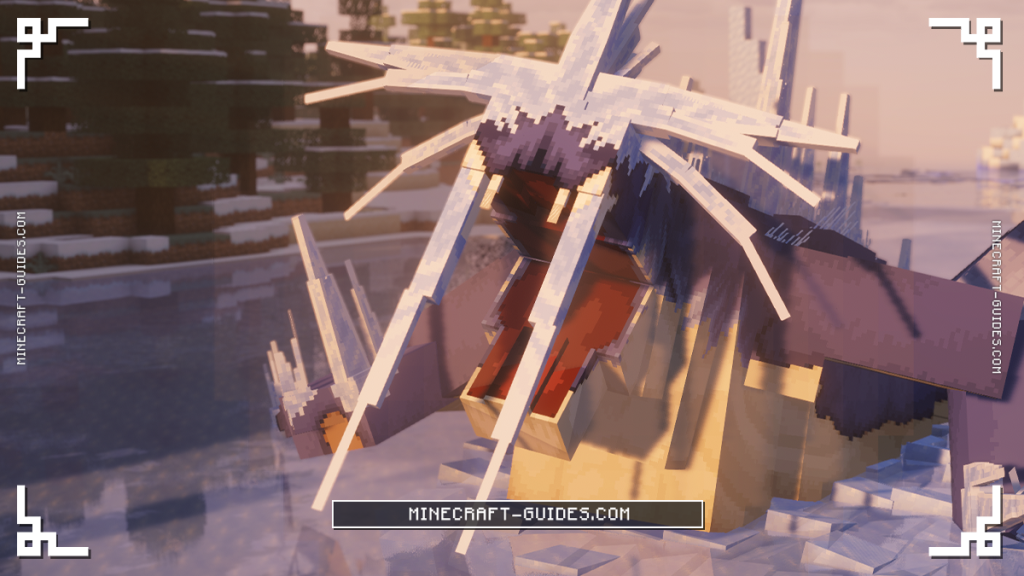
This massive creature transitions between land, water, and aerial combat while coating the battlefield in ice hazards. Fights typically last 15-20 minutes and require Skrythe armor or better to survive the 15-damage hits. The Frostvein status effect prevents health regeneration, making healing items essential.
Finding Leivekilth
Leivekilth spawns exclusively in Frozen Ocean and Deep Frozen Ocean biomes. These biomes feature ice-covered water surfaces and can be found in cold regions of the Overworld. Look for Frozen Oceans near Snowy Plains, Ice Spikes, or other cold biomes. Deep Frozen Ocean variants appear farther from shore with deeper water.
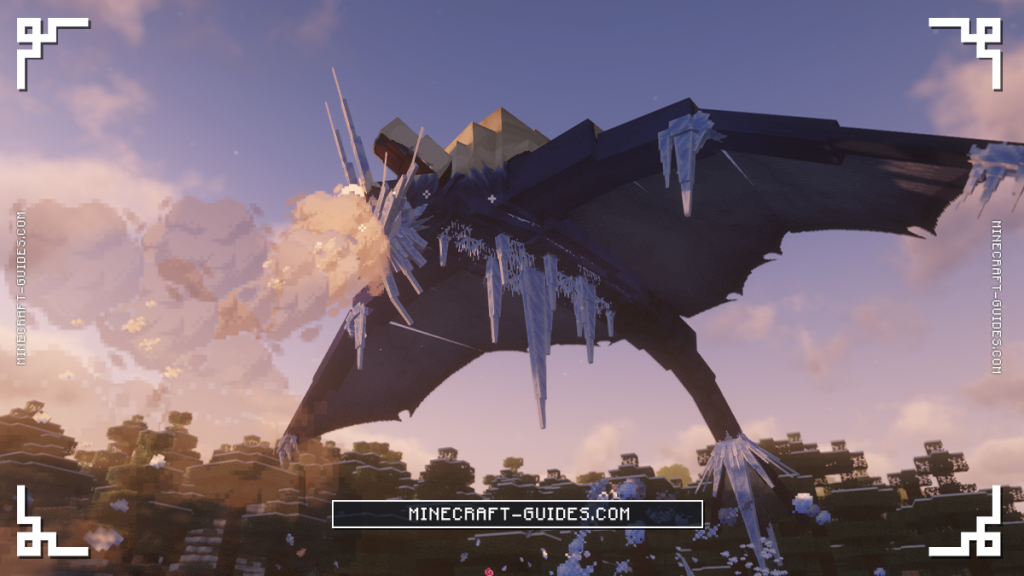
The boss appears as a massive white and blue dragon with ice-covered scales and wing membranes. Leivekilth may be swimming underwater, perched on icebergs, or flying above the ocean. The low spawn weight (1) makes encounters rare, so thorough exploration of Frozen Ocean biomes may be required. Bring a boat for ocean travel and Frost Walker boots or ice blocks for creating temporary platforms.
Boss Stats & Phases
Leivekilth has 750 health, 5 armor, and deals 15 damage with melee attacks, requiring better gear than the Skrythe fight. The boss features breakable wings that prevent flight when both are destroyed and a severable tail that reduces melee attack range. All parts take increased damage from Ice element weapons, creating a unique weakness despite being an ice-type boss.

The battle progresses through three distinct behavior modes. Ground mode uses powerful melee strikes and directional ice breath attacks. Water mode activates when Leivekilth enters deep water, adding swimming mobility and underwater ice projectiles. Aerial mode unleashes ice bombardment from above with dive attacks. Leivekilth intelligently switches modes based on terrain and tactical advantage.
Combat Mechanics & Attacks
Leivekilth uses 19 different attack patterns across three combat modes, but the Supercool Detonation is the deadliest by far. When Leivekilth begins glowing with bright frost energy and stops moving, immediately sprint to maximum range. This ultimate attack creates a massive ice explosion that penetrates armor and has the largest radius in the entire mod. Missing this telegraph can result in death even at full health.
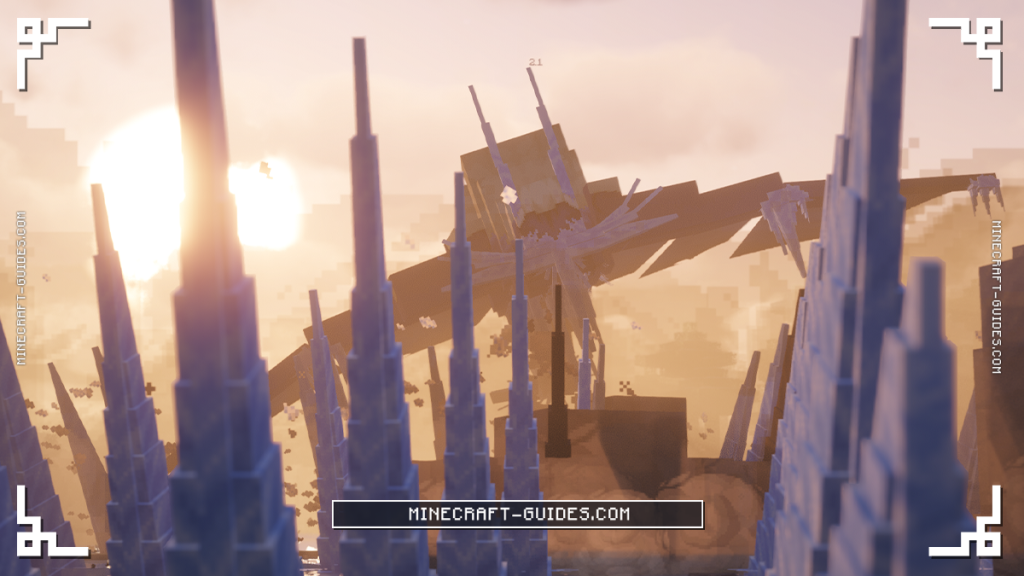
The Breath Spin attack rotates 360 degrees while continuously breathing ice, coating the entire area in slippery patches. This move is especially dangerous on icebergs where space is limited. The Belly Slam shows a clear telegraph with Leivekilth crouching before leaping – dodge roll away as this deals heavy damage plus applies Frostvein status.
Ice breath attacks (Breath Forward, Left Breath, Right Breath) all show the same telegraph: Leivekilth pulls its head back before exhaling. Sprint perpendicular to the breath direction rather than backing away. Air Bombard during aerial phase drops multiple ice bombs that track players – keep moving to avoid the cluster impact. Expect 15-20 minutes for your first clear due to the three combat modes and movement-restricting ice hazards.
Combat Strategy
Equip full Netherite armor with Protection IV and Fire Protection IV to counter ice effects. A Netherite sword with Sharpness V provides necessary damage output against Leivekilth’s 750 health. Bring a bow with Power V and stacks of arrows for aerial phases. Pack multiple Golden Apples, healing potions, Fire Resistance potions to counter Frostvein effect, and bring a well-equipped Kobeko companion.
When Leivekilth begins glowing with bright frost energy and stops moving, immediately sprint to maximum range. The Supercool Detonation creates a massive ice explosion dealing heavy damage that penetrates armor. This attack has the largest radius in the fight and cannot be blocked with  shields.
Control the battlefield by fighting on frozen ocean ice or icebergs to prevent water mode activation. Leivekilth gains significant mobility advantages in water, including faster movement and different attack patterns. Break both wings early to eliminate aerial bombardment, forcing Leivekilth into ground-only combat where melee weapons excel.
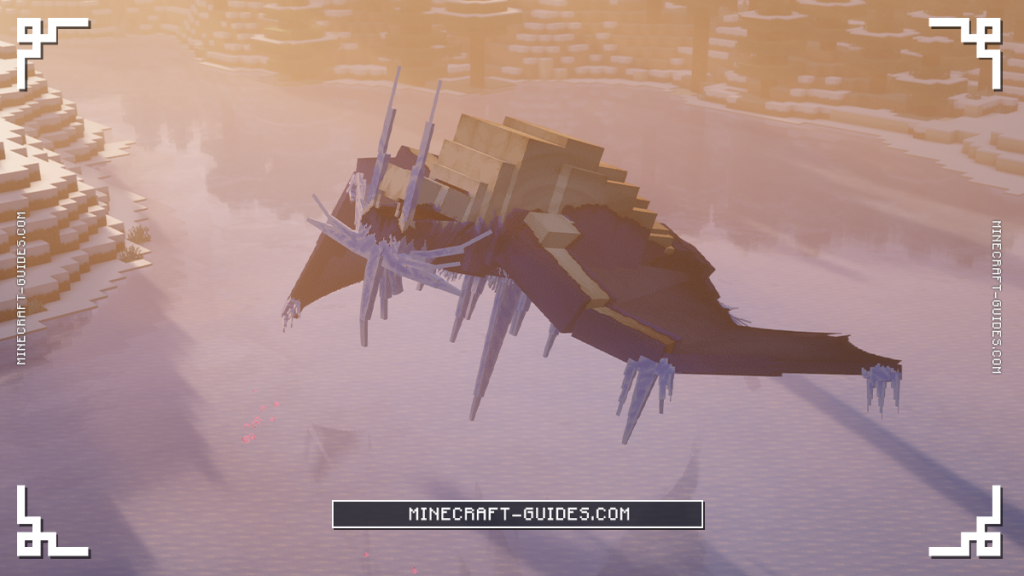
Watch for ice breath attack telegraphs shown by Leivekilth pulling its head back. Sprint perpendicular to breath direction rather than backing away. Ice breath attacks coat the ground with slippery ice patches that reduce movement speed, so clear these areas during calm moments. The Belly Slam shows a clear telegraph with Leivekilth crouching before leaping, giving time to dodge roll away.
Boss Drops & Rewards
Upon defeat, Leivekilth drops multiple crafting materials including valuable ice-related resources. The Looting enchantment increases drop quantities but not percentages.
Leivekilth Drops
Monster Hardbone 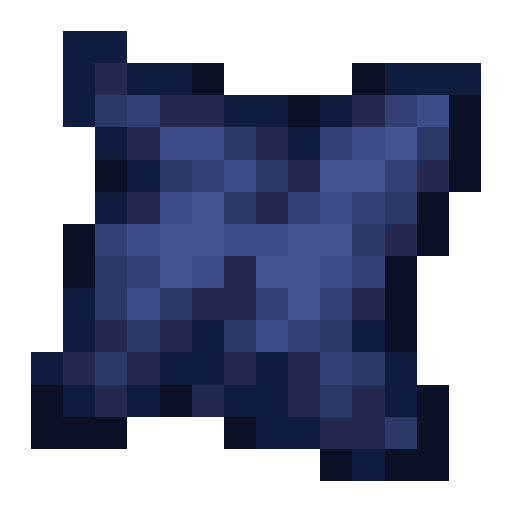
 Leivekilth Armorplate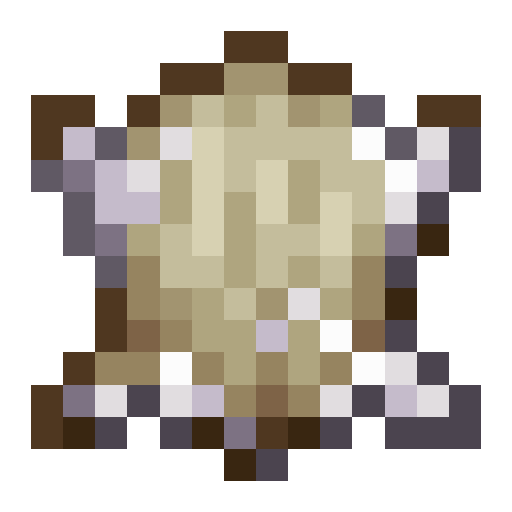
 Leivekilth Rimepelt
 Hoarfrost Shard
 Leivekilth Tusk
 Blue Ice
 Deepfreeze Gland
 Crafting with Leivekilth Drops
Leivekilth materials craft a complete armor set at The Foundry providing the highest defense rating of all three boss armor sets. Armor pieces use Leivekilth Armorplate as the primary material with Leivekilth Rimepelt and Netherite Ingot reinforcement. The full set grants ice resistance properties that reduce Frostvein effect duration and ice attack damage.
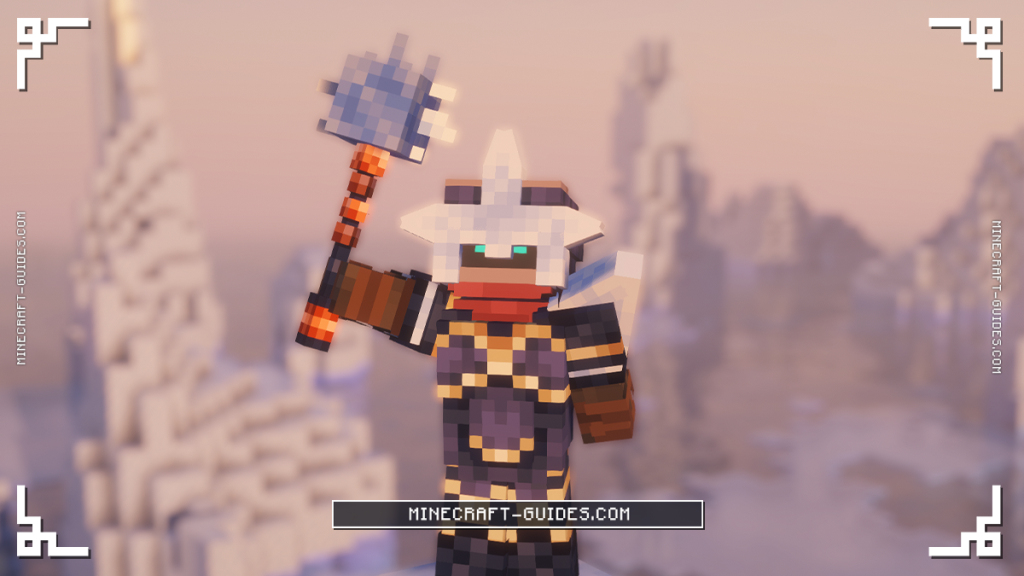
The Deepfreeze Gland, Leivekilth’s rarest drop at 25 percent chance, crafts the  Rimescourge weapon. This powerful ice weapon applies freezing effects to enemies, slowing their movement and attack speed. Hoarfrost Shards craft various ice-based consumables and tools. Blue Ice serves as both a building material for ice farms and a component in certain crafting recipes.
Rhyza
Rhyza is a swift mantis-like predator that dominates the End dimension with invisibility and blinding speed. With 500 health and 5 armor, Rhyza has the lowest health pool but requires End access, making it an endgame boss despite lower stats.
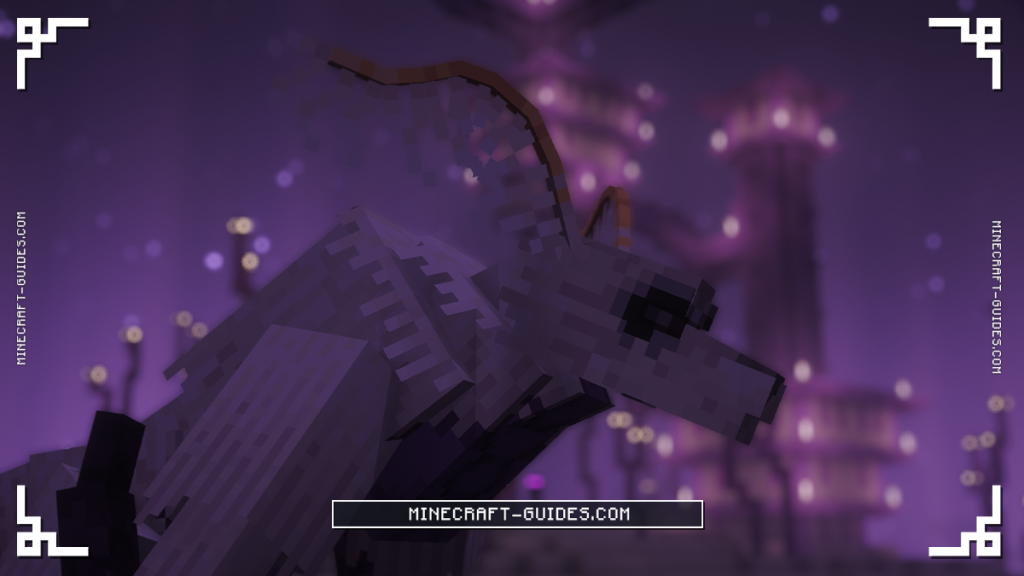
This agile hunter uses hit-and-run tactics, turning invisible between attack sequences and repositioning constantly. Despite lower health, Rhyza is the most technically challenging boss due to invisibility mechanics and rapid combo strings. Fights typically last 12-18 minutes and demand precise shield timing and positioning awareness.
Finding Rhyza
Rhyza spawns exclusively in the End dimension in three biome types: End Highlands, End Midlands, and End Barrens. These outer End islands appear after defeating the Ender Dragon and crossing the gateway portals from the main End island. Players must first locate a Stronghold, activate the End Portal, defeat the Ender Dragon, and then explore the outer islands to find Rhyza.
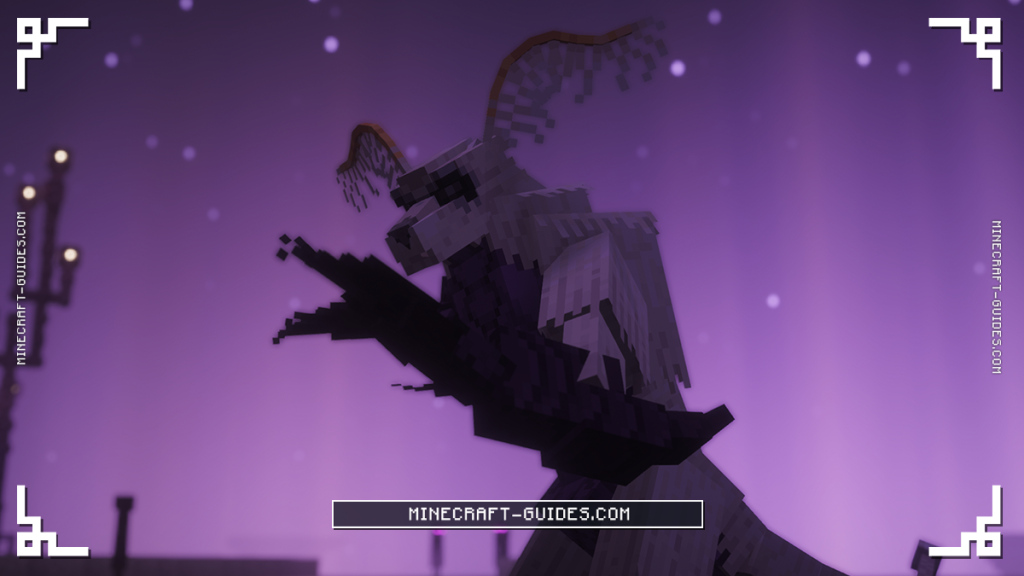
Look for Rhyza prowling the pale End stone terrain of outer islands. The boss appears as a large mantis creature with distinctive claws and glowing cores visible even when partially invisible. Rhyza has a very low spawn weight (1) compared to Endermen (500), making it rare but present on most outer island chains. Bring blocks for bridging between islands and  Ender Pearls for quick escapes.
Boss Stats & Phases
Rhyza has 500 health, 5 armor, and deals 10 damage with melee attacks. The boss features breakable parts including the head for stagger and full break, plus both tails with individual health pools. Breaking these parts causes temporary stuns and yields bonus materials as drops. Despite lower health than other bosses, Rhyza’s speed and invisibility create significant difficulty.
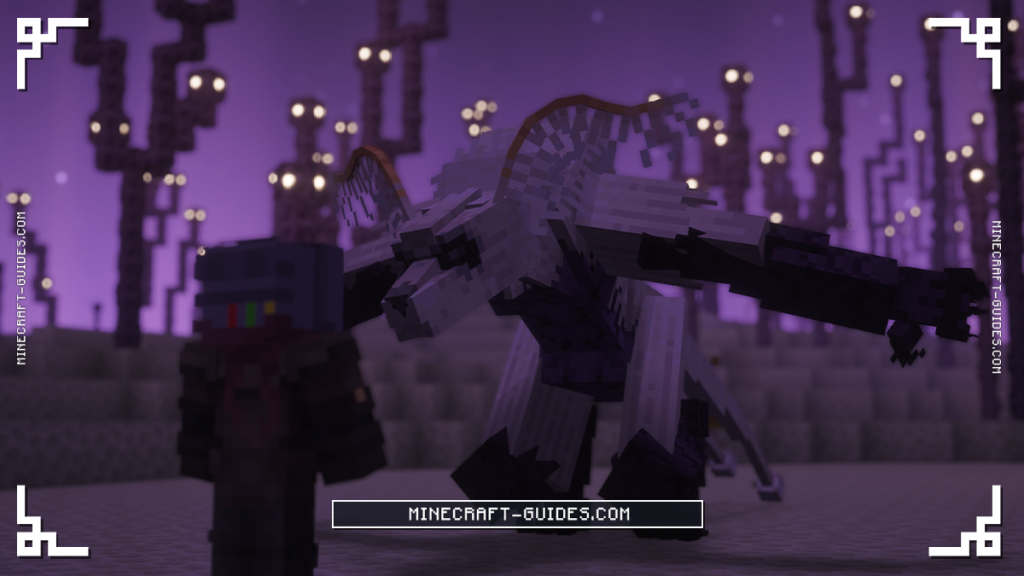
The fight progresses through phases as health decreases. Early phase uses standard attack patterns with occasional invisibility. Mid phase increases invisibility frequency and adds more aggressive combos. Late phase activates Frenzy state, entering extended multi-hit combo sequences with reduced cooldowns between attacks.
Combat Mechanics & Attacks
Rhyza uses 11 different attack patterns, but the Frenzy state and Invisibility are the defining threats. Frenzy activates at low health and locks Rhyza into an extended rapid-fire claw combo that deals high total damage if all hits connect. During Frenzy, focus entirely on shield blocking and dodge timing – do not try to attack. Only counter-attack when Frenzy ends and Rhyza enters recovery animation.
The Invisibility ability cloaks Rhyza for 35 seconds, showing only faint particle effects, shimmer outlines, and ground impact effects from footsteps. Bring Night Vision potions to make the outline significantly easier to see. Rhyza always attacks immediately after becoming visible, so keep your shield raised when tracking the invisible boss.
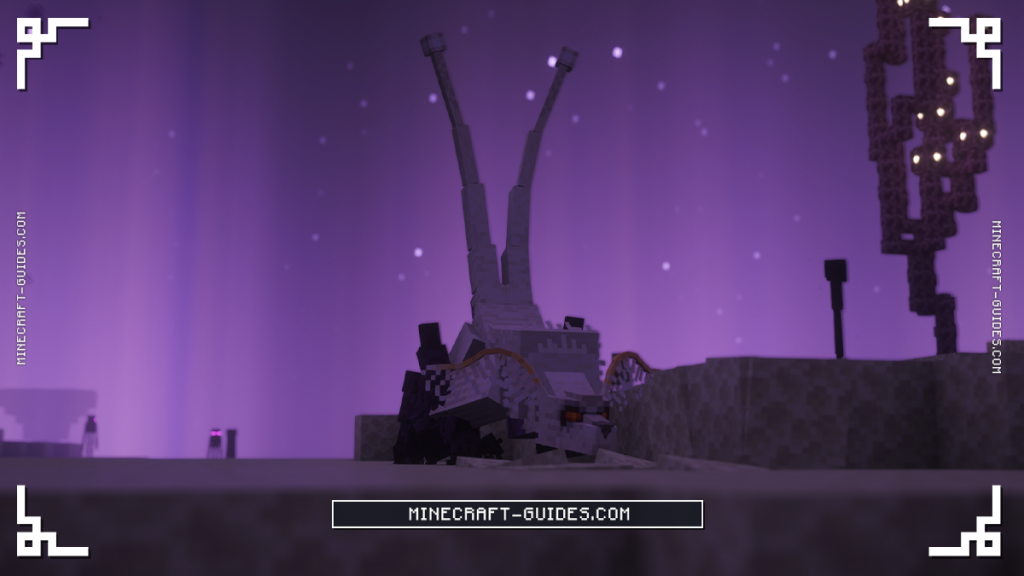
The Flash ability blinds all nearby players with a burst of light, displaying a black screen effect. When blinded, back away from where you last saw Rhyza to avoid combos. Standard attacks like Slash, Backslash, and Tailswipe deal moderate damage and chain together, making shield blocking essential. The Rush and Leap abilities let Rhyza close gaps quickly.
Combat Strategy
Equip full Netherite armor with Protection IV and bring a Netherite sword with Sharpness V. A Shield is essential for blocking Rhyza’s rapid slash combinations. Pack multiple Golden Apples, Night Vision potions to see Rhyza when invisible, and consider bringing a Kobeko companion with Rhyza armor for thematic synergy and combat support.
Rhyza leaves subtle visual cues when invisible including disturbed particles, faint shimmer outlines, and ground impact effects from footsteps. Listen for audio cues that indicate when Rhyza is about to reappear and attack. Night Vision potions make the outline significantly easier to see.
When Rhyza uses Invisibility, reposition to open ground away from island edges to prevent knockback deaths into the void. Watch for the particle trail and audio cues indicating position. During Frenzy state, focus entirely on defensive play using shield blocks and dodge timing. Only counter-attack when Frenzy ends and Rhyza enters recovery animation.
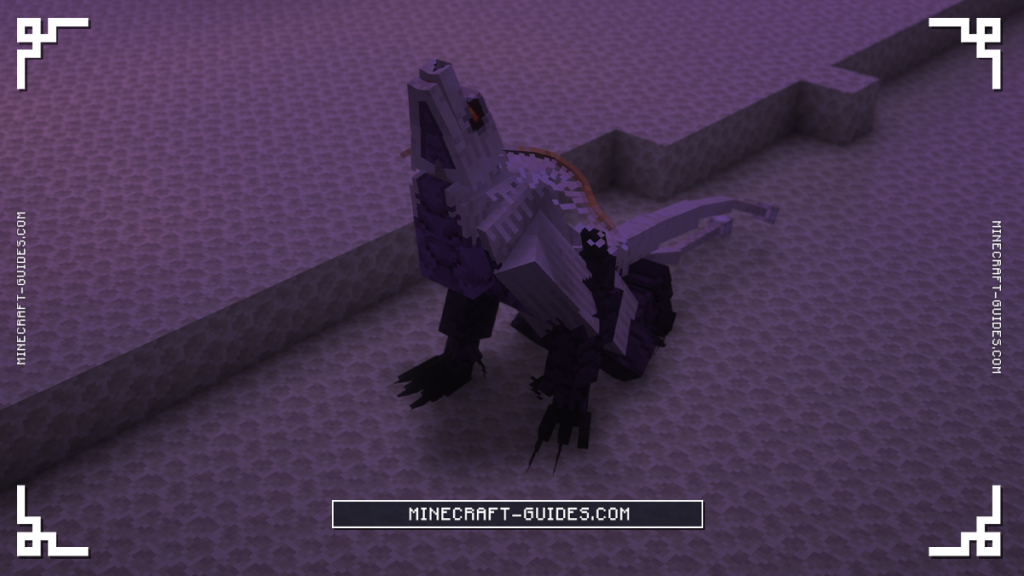
Breaking both tails early significantly reduces Rhyza’s attack range, making the fight safer. The Tailswipe attack becomes much shorter, eliminating the wide rear coverage. Build a small arena with walls on the End island to prevent Rhyza from Dashing or Leaping off edges, which can extend the fight unnecessarily.
Boss Drops & Rewards
Upon defeat, Rhyza drops multiple crafting materials. The Looting enchantment increases drop quantities but not percentages.
Rhyza Drops
Monster Hardbone 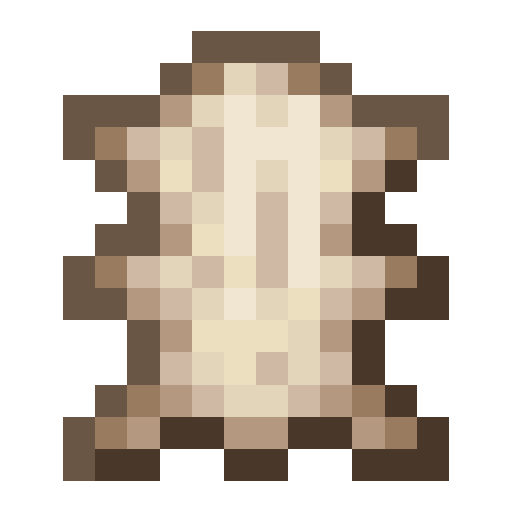
 Rhyza Fur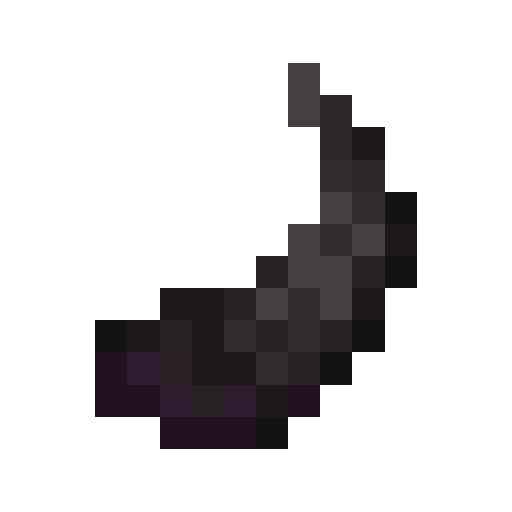
 Rhyza Claw
 Rhyza Carapace
 Rhyza Gleam Core
 Rhyza Scale
 Serrated Sharpclaw
 Crafting with Rhyza Drops
Rhyza materials craft a complete armor set at The Foundry. The  Rhyza Chestplate requires 8 Rhyza Fur, 6 Rhyza Scale, and 1
  Glowstone Dust arranged in The Foundry’s 5×5 grid. The armor set provides balanced defense with mobility bonuses including increased movement speed and reduced fall damage, matching Rhyza’s swift nature.
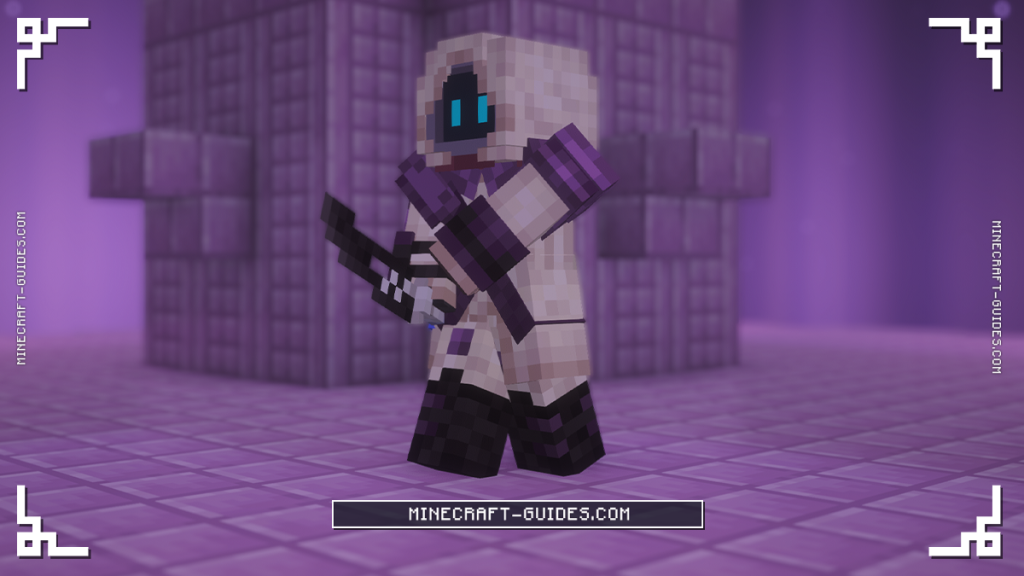
The Serrated Sharpclaw, Rhyza’s rarest drop at 25 percent chance, crafts the  Duskrend sword at The Foundry. The recipe requires 1 Serrated Sharpclaw, 2 Rhyza Claw, 1 Monster Hardbone, and 1 Skrythe Fang, creating a powerful weapon that combines materials from two different bosses. Rhyza Gleam Cores craft Kobeko Rhyza armor variants and serve as components in advanced enchanting recipes.
Kobeko Companion
Kobekos are small bipedal companions that assist players in combat. These creatures spawn naturally throughout the Overworld in any biome, appearing in groups of 1 to 2. Wild Kobekos are neutral and will defend themselves if attacked but otherwise ignore players.
Tame a Kobeko by feeding it a Golden Apple or  Enchanted Golden Apple. There’s an interesting logic to taming Kobekos, and it requires only being able to tame them while they’ve fainted. However, Wild Kobekos will only faint when attacked by other mobs, players will kill them instead, so it’s worth trapping them and having a Creeper explode nearby as a possible method of causing them to faint.
Each player can only have one tamed Kobeko at a time, and attempting to tame a second will display an error message. If your Kobeko dies in combat, you can tame a new one from the wild.
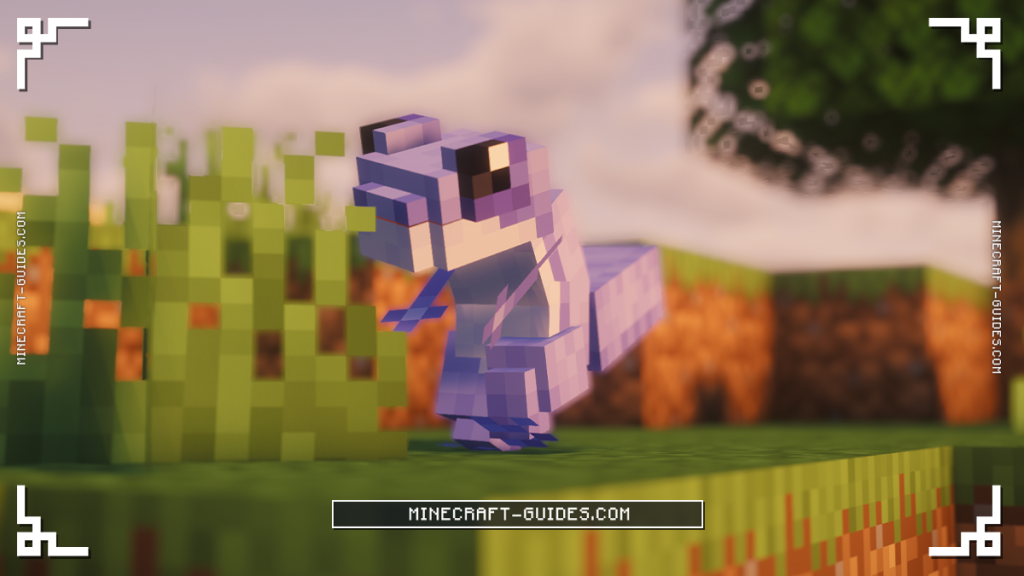
Tamed Kobekos follow their owner and attack hostile mobs. During combat, if a Kobeko loses all its health, it faints instead of dying. Revive a fainted Kobeko by right-clicking it with a Golden Apple (restores 25 percent health) or Enchanted Golden Apple (restores 100 percent health). This revive system lets Kobekos participate in dangerous boss fights without permanent loss.
Equip your Kobeko with armor by right-clicking it with an empty hand to open the equipment screen. Kobekos can wear helmets and chestplates crafted from seven different materials: Iron, Gold, Diamond, Netherite, Skrythe, Rhyza, or Leivekilth. Boss material armor variants grant special elemental abilities matching the source monster.
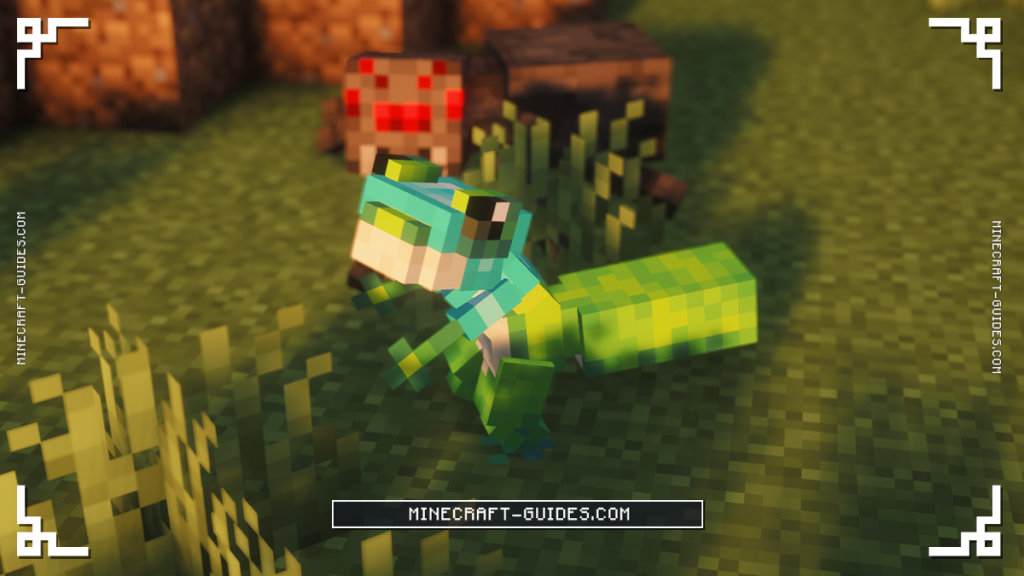
The Kobeko Locator helps find wild Kobekos for taming. This compass-like tool points toward the nearest untamed Kobeko and can be crafted at The Foundry using 3 Monster Hardbones arranged diagonally. Monster Hardbone drops from all three bosses, making the locator accessible after any first boss kill.
Custom Enchantments & Effects
Monster Expansion adds three unique enchantments obtained through standard  enchanting tables or as rare boss drops.
Polyphony increases the power of sound-based attacks and provides resistance to sonic damage from Skrythe’s attacks. Echoing Reach extends the range of melee weapons by 2 blocks at max level, allowing safer positioning during boss fights. Lunacy increases damage dealt during nighttime hours by up to 25 percent at max level.
The mod introduces four status effects that impact gameplay. Cloaked grants temporary invisibility similar to Rhyza’s ability and prevents enemy targeting for the duration. Frostvein applies slowness and prevents health regeneration, commonly inflicted by Leivekilth’s ice attacks. Blinded removes vision temporarily, displayed as a black screen effect after exposure to Rhyza’s Flash ability. Cloaked Cooldown prevents repeated use of cloaking items or abilities, appearing after Cloaked effect ends.
Frequently Asked Questions
Fight Skrythe first as it spawns in all Overworld biomes and has the most accessible location. Next, challenge Leivekilth in Frozen Oceans for stronger armor before End access. Finally, fight Rhyza in the End dimension after defeating the Ender Dragon, as it requires portal access despite having the lowest health pool.
Breaking boss parts causes temporary staggers and topples that create damage openings. Breaking wings on Skrythe and Leivekilth permanently grounds them and prevents all aerial attacks. Severing tails reduces attack range and removes tailswipe attacks. Each broken part drops bonus materials during the fight, rewarding targeted damage.
Skrythe spawns in all Overworld biomes. Leivekilth spawns only in Frozen Ocean and Deep Frozen Ocean biomes. Rhyza spawns exclusively in the End dimension in End Highlands, End Midlands, and End Barrens biomes on outer islands. All bosses have very low spawn weights making them rare.
Leivekilth armor provides the highest defense rating and ice resistance, ideal for general use and fighting Leivekilth itself. Skrythe armor offers sonic resistance valuable against Skrythe encounters. Rhyza armor provides mobility bonuses for players who prioritize movement speed over raw defense. Choose based on which boss you fight most often.


