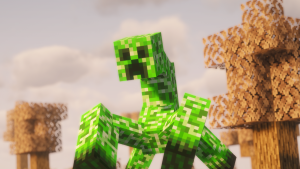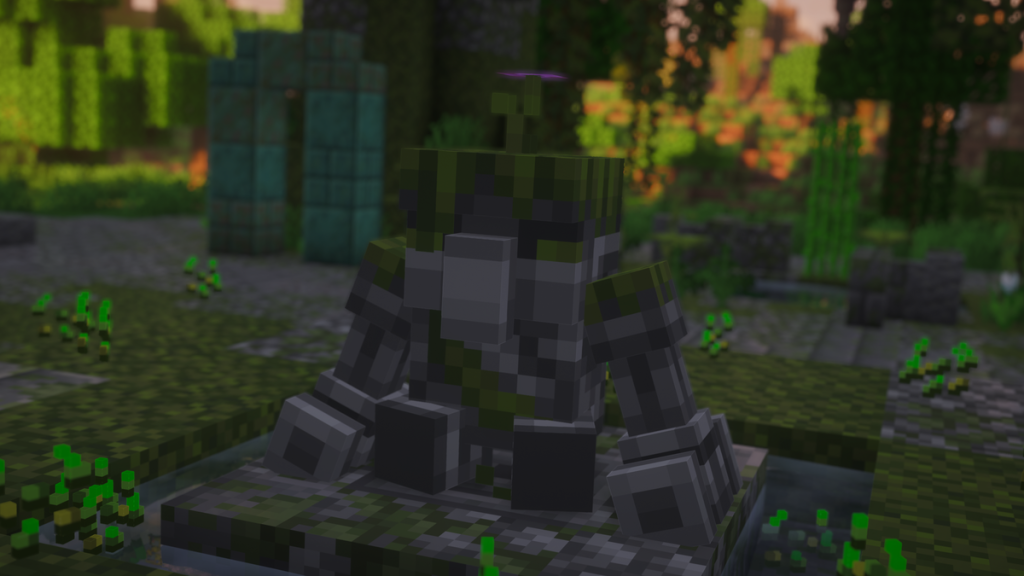
The four Legendary Monsters companions are all crafted out of a boss drop rather than found wandering about. The Guard and the Knight both come out of The Collapsed Kingdom, the Mossy Golem is built around an Overgrown Colossus drop, and the Skeloraptor hatches from an egg you put together with Skeletosaurus bones. None of the four spawn naturally anywhere in the world.
Three of them arrive already tamed to you the moment they spawn, so there’s no feeding stage and nothing to fail. They’ll follow you around, fight whatever hits you, and take orders through a sneak and right-click. The Skeloraptor is the odd one out, it hatches wild and has to be fed raw meat before it’ll listen to anything.
How It Works
The Guard Summoner, the  Knight Summoner and the
 Totem Of Moss are all used the same way. Right-click the ground with one and the companion appears on the block you clicked, owned by you and tamed already, and the item is consumed in the process. From that point it’s a permanent entity, it won’t despawn while you’re away and it won’t wander off on its own.
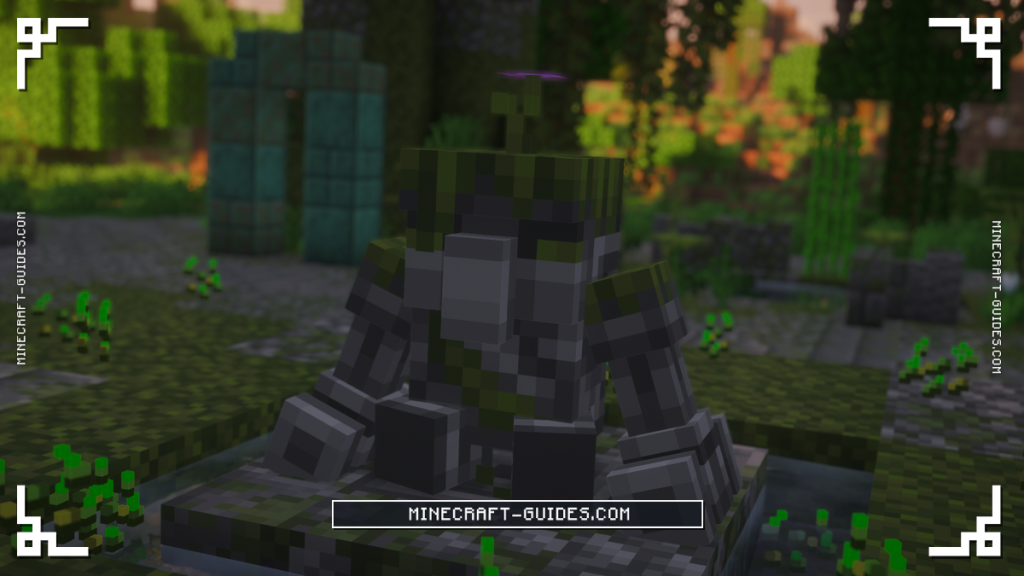
Your companions can’t hurt you, which matters more than it sounds because three of the four swing in wide sweeps rather than single-target hits. The same protection covers anything else you own, so two Guards standing together will never clip each other.  Villagers and
 Iron Golems are also excluded from those sweeps entirely, which makes a pair of Knights a reasonable thing to leave standing in a village.
Command Modes
Sneak and right-click a companion to cycle its mode, and the new one will be named on your action bar. The Guard and the Knight only respond while you’re sneaking, an ordinary right-click on them does nothing at all. The Mossy Golem cycles on any right-click, and the Skeloraptor needs the sneak because a plain right-click mounts it instead.
- Follow is where everything starts. It walks with you, closing the gap once you’re more than 10 blocks off, and it fights anything that lands a hit on you or on it.
- Sit drops whatever it was fighting and roots it where it stands, it won’t take a new target at all while it’s sitting.
- Wander lets it roam around the spot you left it. The Guard and the Knight will still come to your defense if you’re attacked nearby, but the Mossy Golem won’t fight at all in this mode.
- Guard is the fourth mode on the Guard and the Knight. They follow you as normal and pick fights with any hostile mob they can see, which is the only mode where they start a fight instead of finishing one.
- Stand Still replaces Guard mode on the Mossy Golem, and it pins the Golem in place while leaving it able to defend you. The Skeloraptor has no fourth mode, it stops at Wander and cycles back to Follow.
Guard mode can be switched off in the config under “Allow Knight Summons Initiate Attack”, so turn that off if you’d rather they never picked a fight you didn’t start. Everything else about them scales through per-mob health and damage multipliers that sit at 1.0 by default, so the numbers below are what you’ll see out of the box.
The Four Companions
The numbers below are with every multiplier left at its default of 1.0. The Guard and the Knight are the fighters, the Mossy Golem is the farmhand and the Skeloraptor is the mount.

Guard

Knight

Mossy Golem

Skeloraptor
Each one is covered in turn below, starting with the two knights from the Collapsed Kingdom. They share a summoner recipe and a control scheme, so once you have one the other is familiar.
Guard
140 HP, heaviest hitter
The Guard swings a  Golden Halberd in a half circle roughly 3 blocks across, and every connection is worth 20 damage. It leads with an uppercut that drops straight into a follow-up slash, so one committed attack lands twice and each hit can catch up to eleven things. A narrower forward slam launches whatever it catches.

Those attacks take longer to wind up than the Knight’s, which is the trade the mod’s own tooltip points at when it calls the Guard slower. Against a crowd that doesn’t matter, the arc does the work for you. Against a single fast target you’ll often see it whiff the first swing and catch up on the second.
Knight
120 HP, blocks and counters
The Knight hits for 14 in a narrower swing about 2.5 blocks out, and it strings those together far faster than the Guard manages. Its real trick is the guard stance, raised when an enemy turns on the Knight rather than on you. Any hit during that window is negated, and the Knight answers with an 18 damage counter in a half circle that stuns up to five things.
It’s also armored through the wind-up of its basic slash, so attacks that arrive early in the swing bounce off with a clang. Between that and the counter, a Knight on its own will often finish a fight against several weaker mobs without dropping much health at all.
Mossy Golem
60 HP, farm helper
The Mossy Golem is the only one of the four that does a job outside combat. Whenever there’s an unripe crop within 3 blocks of it, it kneels and pushes every crop within 4 blocks forward by 5 growth stages, again about every 13 seconds. Wheat goes from freshly planted to ready in two of those pulses, so the Golem usually lives in the middle of a field.
It does fight, a slam that covers 4 blocks in a half circle for 7.5 damage, but with 60 health and 6 armor it isn’t built to hold a line. It’s the one companion that doesn’t heal itself either, so damage it takes is damage it keeps until you replace it.
Skeloraptor
60 HP, the only mount
The Skeloraptor is a mount rather than a bodyguard, and its targeting reflects that. It has no goal that makes it defend you, so left on its own it only fights things that hit it directly. What it does have is a set of Skeletosaurus attack patterns you can trigger from the saddle, plus a roar that clears the area of anything hostile.
It counts as Undead, it takes no fall damage at any height, and thrown Potions and lingering clouds pass through it without effect. It’ll also chew through any leaves it walks into, so keep it away from any build with leaves in it, or take the long way around.
Getting Started
Every companion is gated behind a boss, so the order you unlock them in is really the order you clear structures in. The  Corrupted Soul at the heart of both Knight Summoners is a guaranteed drop from the Possessed Paladin, and you’ll need two of them if you want a Guard and a Knight both.
That list assumes one of each companion. Extra Guards and Knights only cost another Corrupted Soul and weapon apiece, and the Paladin drops one soul per kill, so a second kingdom run is all it takes to double up.
The Guard and the Knight
Both summoners are 7  Iron Ingots around the outside with a Corrupted Soul in the middle and a weapon sitting above it. The Guard Summoner takes a Golden Halberd there, the Knight Summoner takes a
 Knight’s Sword, so the soul is the same in both and only the weapon on top decides which companion you get.


Those two weapons are built from the regular mobs of the same structure. Haunted Guards each drop a  Long Stick Half and Haunted Knights each drop a
 Knight’s Sword Blade Half, and you need two of the relevant half for one weapon, so clear the halls on your way down to the Paladin.


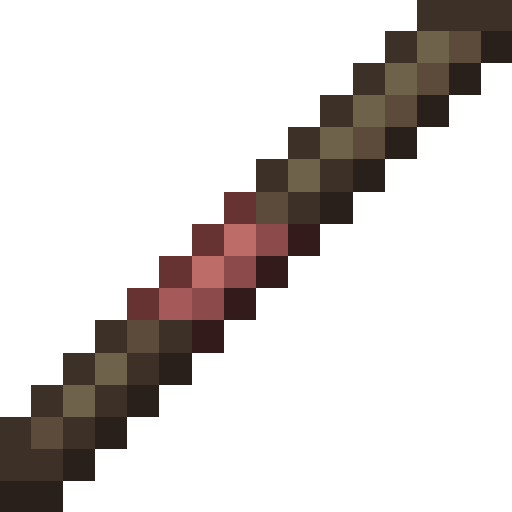
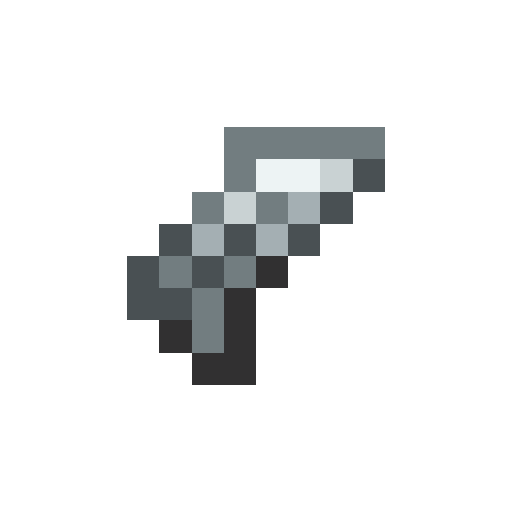

The Golden Halberd wants a Gold Block, 3  Gold Ingots and the two Long Stick Halves, whereas the Knight’s Sword is just the two blade halves stacked over a
 Stick. Anything left over converts cleanly, a spare Knight’s Sword Blade Half turns back into an Iron Ingot on its own in the grid.
The Mossy Golem
The Totem Of Moss is a three block vertical craft,  Wheat Seeds on top, a
 Nature Crystal in the middle and
 Cobblestone underneath. The Nature Crystal is the only part with any cost to it, as it drops from the Overgrown Colossus every time. Right-click the ground with the finished Totem and the Golem stands up tamed.


One Totem is one Golem, and the Totem comes back when the Golem dies, so a farm only ever needs the one Nature Crystal. A second Golem for a second field means a second Overgrown Colossus.
Hatching a Skeloraptor
A  Skeletosaurus Egg is 6
 Basalt in a ring with a
 Bone Block in the center and a
 Dinosaur Bone above and below it. Killing the Skeletosaurus gives you 2 Dinosaur Bone, which is exactly one egg, so a single fight is enough to get started. Place the egg down and it works through three visible stages before it cracks open.


The egg is a block rather than an item you use, and it needs to sit undisturbed in one spot while it works through its stages, so pick somewhere you’ll be coming back to. Fence it off if there are  Creepers about.
Left on an ordinary block that takes about 20 minutes, and putting it on  Soul Sand halves the wait to roughly 10. What comes out is a wild baby, not a tamed adult, so there are two more steps before you can ride it.
Taming and Riding the Skeloraptor
Feed the hatchling  Raw Beef,
 Raw Porkchop,
 Raw Mutton,
 Raw Chicken or
 Raw Rabbit, and roughly one feed in 3 will take. Once it’s yours, more raw meat speeds up its growth like feeding a vanilla baby animal. You can’t mount a baby at all, which is the point of hurrying it along.
Right-click a grown, tamed Skeloraptor without sneaking and you’ll climb on. It steers off your look direction, and the jump works like a  Horse, held and charged rather than tapped. Fall damage is off the table while you’re riding, which makes it a reasonable way down a cliff as well as across one.
The roar is the reason to keep one saddled. Everything hostile within about 16 blocks drops whatever it was targeting and runs, which buys you a clean exit from a fight that’s gone wrong. Its cooldown counts down on your action bar while you’re mounted, so you always know whether it’s ready.
The attack button picks between two patterns at random. The tail sweep reaches 5 blocks in a half circle for 10 damage and throws what it hits, whereas the stomp covers a tight 2 blocks all the way around for 7 and sends rings of shockwaves out past that. While you’re on its back it stops choosing attacks for itself, so nothing happens unless you press something.
Recoloring the Guard and the Knight
Sneak and right-click a Guard or a Knight while holding one of eight materials and its armor takes that color, along with the color of the sweep trail its attacks leave behind. The material is consumed, though it comes back when the companion dies, so nothing is really spent. This only works on those two, the Mossy Golem and the Skeloraptor have no variants.
- Iron Ingot is the default pale steel, which is also what a freshly summoned one looks like.
- Gold Ingot for yellow, and Copper Ingot for a warm orange-brown.
- Emerald for green, Diamond for pale cyan, Amethyst Shard for lilac.
- Echo Shard gives a darker teal and plays its own sound when it’s applied.
- Netherite Ingot for the dark gray, which is as close to black as the set gets.
Holding one of these is the reason a command cycle sometimes doesn’t happen when you expect it to. The color check runs first, so if you’re carrying a Diamond and the Knight isn’t already cyan, the sneak right-click spends the Diamond instead of changing modes. Empty your hand if you only want to switch its behavior.
When a Companion Dies
Three of the four hand back most of what you spent on them, and the drops glow so they’re easy to find in the mess after a fight. A named companion also returns its  Name Tag, with the name still on it.
| Companion | Drops On Death | Bringing It Back |
|---|---|---|
| Guard | Deactivated Guard Summoner, plus its color material | Craft it back with 1 Iron Ingot |
| Knight | Deactivated Knight Summoner, plus its color material | Craft it back with 1 Iron Ingot |
| Mossy Golem | Totem Of Moss | Place it again, nothing to craft |
| Skeloraptor | Nothing | A whole new Skeletosaurus Egg |
The knights and the Golem are cheap to bring back because the summoner comes home with them, so losing one costs you a walk back to where it fell. The mount is the exception, and it’s the one to plan around.
A dead Skeloraptor leaves no egg and no items at all, and the replacement costs another 2 Dinosaur Bone, which means another Skeletosaurus. Put it in Sit mode before you walk into anything serious on foot, since sitting clears its target and stops it joining in.
The Guard, the Knight and the Skeloraptor all heal themselves at 1 health every 1.5 seconds whenever they’re below full, so ordinary chip damage sorts itself out if you give them a minute. The Mossy Golem has no regeneration at all, which is the one case where letting it die and replacing the Totem is genuinely quicker than nursing it.
Tips
Switch to Guard mode if you want a companion to start fights, as it’s the only mode that does. If you’ve cleared a room and your Knight is standing there ignoring a  Zombie across the way, it’s in Follow rather than Guard, and one more sneak right-click will fix it.
Pair the two knights rather than doubling up on one. The Guard’s 20 damage half circle clears the crowd around you, and the Knight standing beside it will parry the things that turn on it and counter for 18 in a wider arc than its normal swing. Neither of them can catch the other, so there’s no cost to keeping them close.
Leave the Mossy Golem in Stand Still mode once it’s in a field, because in Follow it’ll trail after you and take its crop pulse with it. The boost reaches 4 blocks in every direction from where it’s standing, so one Golem in the middle of a modest plot covers the whole thing.
If a Guard or Knight ever needs moving somewhere awkward, put it in Follow and walk off. It closes the gap once you’re past 10 blocks and will teleport to you rather than lose you, which is far less painful than trying to path it through a doorway.
There’s no way to send a companion back into its summoner while it’s alive. If you want one gone rather than moved, letting it die is the only route, and the Guard, Knight and Golem all drop their summoner back when they do.
FAQ
Every sweep they throw skips you, anything else you own, and anything allied to you, so there’s no friendly fire to plan around. Villagers and Iron Golems sit on a separate immunity list that the Guard and Knight attacks check as well, which means you can station them inside a village without losing anyone. Other players are the exception, as they’ll be hit unless they’re on your team.
Nothing in the mod caps the number, so the limit is really how many Corrupted Souls and Nature Crystals you’re willing to farm. Each summoner produces exactly one companion and is used up doing it, which is the only real brake on it. A stack of four or five following you at once works fine, though they do push each other around in tight corridors.
It’s built as a mount rather than a bodyguard, and it’s the only one of the four that ignores you being attacked. It only fights back when something hits it directly, so to get its damage you have to ride it and press the attack button. The roar is the part that actually helps you on foot, though you still need to be on its back to use it.
All four are marked persistent the moment they enter the world, so distance and time won’t remove them. Their mode and their color are both saved with them as well, meaning a Golem you left standing in a field will still be standing there in Stand Still mode when you come back. The only way to lose one is to let it die.