

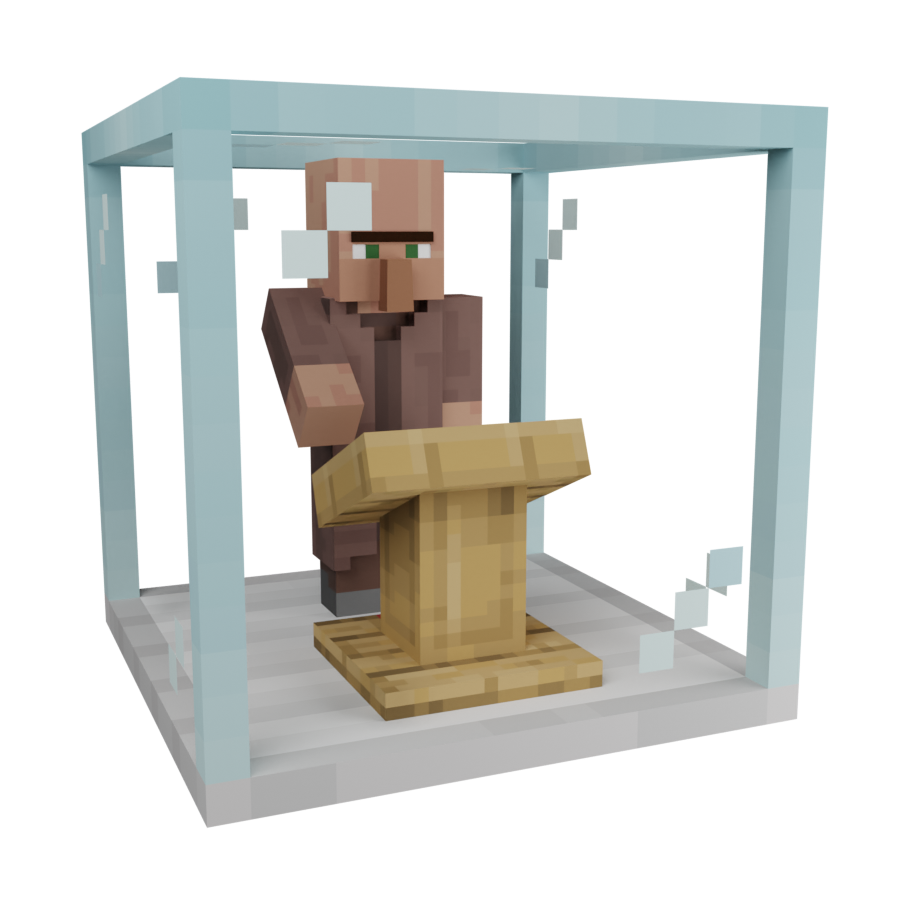
Easy Villagers transforms one of Minecraft’s most frustrating mechanics into a streamlined experience. Instead of building elaborate Villager trading halls with complex pathfinding solutions, this mod lets you pick up Villagers as items and place them into compact, single-block workstations. Whether you want automatic iron production, hassle-free breeding, or convenient trade cycling, Easy Villagers provides dedicated blocks for every Villager-related task.
The mod adds eight functional blocks that handle trading, farming, breeding, curing, iron production, and more. Each block accepts a Villager item and performs its function automatically, with full  Hopper support for complete automation. This guide covers every block, their recipes, timings, and how to build efficient Villager systems.
Getting Started
Easy Villagers centers around one core concept: Villagers become portable items that you can carry in your inventory and insert into specialized blocks. Before using any of the mod’s workstations, you need to capture some Villagers first.
All Easy Villagers blocks share common crafting ingredients. Most recipes require  Glass Panes,
 Iron Ingots, and one unique item that defines the block’s function. The crafting patterns are consistent, making them easy to remember once you learn the first few.
Villagers stored in your inventory will make ambient sounds periodically. This can be turned off with the Villager.inventory_sounds setting in serverconfig/easy_villagers-server.toml in your world folder.
Picking Up Villagers
There are two ways to capture a Villager. The first method is to crouch and right-click on any Villager that isn’t asleep, which places them directly into your inventory as a Villager item. The second method uses the dedicated pickup hotkey, which you can configure in the Controls menu under the Easy Villagers section.

Both adult and baby Villagers can be picked up. If the Villager has a profession, they retain that profession when stored as an item. The profession only changes if you place an unemployed Villager into a block with a workstation, or if the Villager has zero experience and encounters a new job site.
To release a Villager back into the world, simply right-click while holding the Villager item. The Villager spawns at your target location and resumes normal behavior, keeping any profession, trades, and experience they had before.
Wandering Traders cannot be picked up with Easy Villagers. They are a different entity type from regular Villagers and do not work with the mod’s blocks. You’ll need to interact with them normally in the world.
Trader
The Trader is the most basic trading block, designed for manual interaction with Villagers. It provides a contained trading interface with one major advantage over vanilla trading: the ability to cycle through different trade offers before locking them in.


How to Use
Place the Trader block and right-click a Villager into it. Next, add a workstation block by right-clicking it onto the Trader. The workstation determines the Villager’s profession. For example, adding a  Lectern creates a Librarian, while a Smithing Table creates a Toolsmith.

Open the Trader’s interface to view available trades. If you don’t like the current offers, click the Cycle Trades button or press C to reroll them. You can cycle trades indefinitely until you make your first purchase, which locks the Villager’s trades permanently.
Pressing C works whenever a Villager’s trading screen is open, so you can tap it repeatedly to reroll for specific enchantments like Mending, Silk Touch, or Protection IV. The same button also appears when trading with a Villager out in the world.
Restocking
Unlike vanilla Villagers that only restock during specific times, Traders restock on a timer. By default, restocking occurs between 1 and 3 minutes after trades run out. This means you can trade continuously without waiting for the Villager’s work schedule.
Example Librarian Trades
Librarians are the most popular Villager profession for trading due to their  Enchanted Book offers. Here are some of the most valuable trades to look for when cycling:
Valuable Librarian Trades

 Paper

 Emerald Emerald

 Book

 Mending Enchantment Emerald Book

 Silk Touch Enchantment Emerald Book

 Protection Enchantment
Auto Trader
The  Auto Trader automates the trading process entirely. It works like the regular Trader but accepts items through Hoppers and outputs the trade results automatically. This is essential for farms that generate tradeable resources like Paper,
 Carrots, or Rotten Flesh.


How to Use
Set up the Auto Trader the same way as a regular Trader: insert a Villager and add a workstation. The GUI shows the current trade with input slots on the left and output on the right. Use the arrow buttons to select which trade the Auto Trader should perform.
Connect a Hopper to the top of the Auto Trader to supply input items. The block automatically performs one trade every second (20 ticks) as long as it has the required items. Output items can be pulled out with another Hopper, and any side works for both. Once a trade runs out of stock, the Auto Trader waits for the Villager to restock, between 1 and 3 minutes by default.
The Auto Trader recipe requires a  Netherite Ingot, making it a mid-to-late game item. Plan your trading infrastructure accordingly.
Trade Selection
The Auto Trader remembers which trade you selected, even after breaking and replacing the block. As the Villager levels up and unlocks new trades, you can switch to higher-tier trades using the GUI arrows. The Villager gains experience from automated trades just like manual ones.
Farmer
The  Farmer block is a complete farm contained in a single block. It simulates crop growth and harvesting without needing
 Farmland, water, or open space. While slower than traditional farms, it saves significant space and eliminates the need for crop collection systems.


How to Use
Place a Villager into the Farmer block. Any Villager without existing experience automatically converts to the Farmer profession, apart from Nitwits. Right-click the block with a seed to begin growing that crop. The Farmer accepts Wheat Seeds,  Beetroot Seeds, Carrots,
 Potatoes,
 Pitcher Pods, and Torchflower Seeds.
The crop grows in stages inside the block, visible through the glass. When fully grown, the Villager harvests it and places the output in the block’s inventory. Use a Hopper underneath to extract crops automatically. To change crops, shift-right-click to remove the current seed and add a different one.
The Farmer cannot grow  Melons or
 Pumpkins since these require adjacent blocks to spawn their fruit. Stick to basic crops for this block.
Growth Speed
Crop growth speed is set by farmer.farm_speed in serverconfig/easy_villagers-server.toml in your world folder. By default, the growth rate provides a passive trickle of crops suitable for feeding  Breeders but not replacing large-scale farms. The Farmer works best as a low-maintenance food supply for Villager breeding systems.
Breeder
The Breeder automates Villager breeding in a single block. Instead of building elaborate breeding chambers with bed detection and food throwing mechanics, the Breeder handles everything internally and outputs baby Villagers as items.


How to Use
The Breeder requires two Villagers to function. Right-click two Villager items into the block, then open the GUI to add food. The Breeder accepts all Villager-compatible foods:  Bread, Carrots, Potatoes, and
 Beetroots. Each food item has a different “food value” that contributes toward breeding.
When enough food accumulates (totaling 24 food points), the Villagers breed and produce a baby Villager item in the output slot. By default, this process takes 60 seconds. Use Hoppers to supply food from above and extract babies from below for full automation.
Food Values
Baby Villagers
Baby Villagers produced by the Breeder are stored as Baby Villager items. They cannot be placed into most Easy Villagers blocks until they grow into adults. To age them faster, use the  Incubator block or simply wait for them to mature naturally if placed in the world.
Incubator
The Incubator accelerates baby Villager growth. Instead of waiting 20 minutes for a baby to mature, the Incubator ages them at double speed by default, cutting the wait time in half. This pairs perfectly with the Breeder for rapid Villager production.


How to Use
The Incubator has input and output slots for Villager items. Place baby Villagers into the input slot, either manually or through a Hopper. The block ages them at an accelerated rate until they become adults, then moves them to the output slot for extraction.
Connect the Incubator directly to a Breeder’s output for seamless operation. Babies flow from the Breeder into the Incubator, grow up, and exit as adult Villagers ready for trading or further processing.
Growth Speed
The default incubation speed is 2x, meaning babies grow twice as fast as normal. This value can be raised up to 1024x with incubator.speed in serverconfig/easy_villagers-server.toml in your world folder, though extremely high values may cause issues. A speed of 2x provides a good balance between fast maturation and server performance.
Converter
The  Converter automates the Zombie Villager curing process. In vanilla Minecraft, curing a Zombie Villager requires manually applying Weakness and feeding a
 Golden Apple, then waiting. The Converter handles this entire process automatically, outputting Villagers with discounted trades.


How to Use
The Converter requires three inputs: a Villager, a Golden Apple, and a  Potion of Weakness. Any type of Weakness potion works, including regular, splash, lingering, or extended duration versions. Place these items in the input slots through the GUI or via Hoppers.
When all items are present, the Converter begins its process. First, it zombifies the Villager (3 seconds), then applies the cure (3 seconds), and finally converts them back (5 minutes by default). The cured Villager appears in the output slot with improved trade prices.
Each conversion permanently improves that Villager’s prices. For maximum discounts, run the same Villager through the Converter multiple times before using them in a Trader.
Conversion Timing
The total conversion time is approximately 5 minutes with default settings. The block progresses through visible stages: normal Villager, zombified, curing, and finally cured. Sound effects play at each transition to indicate progress.
Iron Farm
The  Iron Farm is the mod’s most impactful block, providing passive iron generation from a single block. It simulates an
 Iron Golem spawning and dying, dropping Iron Ingots and
 Poppies into its inventory. One Villager powers the entire operation.


How to Use
Place the Iron Farm block and right-click a Villager into it. The block immediately begins operating with no additional setup required. An Iron Golem spawns internally every 4 minutes, dies, and drops its loot into the output inventory.
The Iron Farm produces standard Iron Golem drops. Output can be extracted with Hoppers for collection. Multiple Iron Farm blocks can run simultaneously for increased production.
Iron Farm Drops
Iron Ingot  Poppy
Production Rates
With the default spawn time of 4 minutes (4800 ticks), each Iron Farm produces approximately 3-5 Iron Ingots per spawn cycle. This averages to roughly 1 Iron Ingot per minute. For reference, a traditional vanilla iron farm with multiple Villagers produces significantly more, but requires far more space and complexity.
Iron Farm Output
Inventory Viewer
The  Inventory Viewer allows you to inspect and modify a Villager’s personal inventory and equipment. It’s only available in creative mode, as it has no crafting recipe in survival.
How to Use
Place a Villager into the Inventory Viewer to see their inventory contents. The GUI displays their equipment slots (armor and held items) and their internal 8-slot inventory. You can add or remove items directly, which the Villager retains when removed from the block.
This block is primarily useful for debugging or customizing Villagers in creative mode. You can equip Villagers with armor for decoration or pre-fill their inventories with seeds for farming purposes.
The Inventory Viewer has no crafting recipe and is only obtainable through creative mode or commands. This may change in future updates.
Configuration Options
Easy Villagers keeps its gameplay settings in serverconfig/easy_villagers-server.toml in your world folder, and the client settings (sneak pickup, sounds, rendering) in config/easy_villagers-client.toml. Server operators and modpack creators can fine-tune nearly every aspect of the mod’s functionality.
Key Configuration Options
Changes to server-side config apply to all players. Client-side settings like keybinds are configured per-player in the Controls menu.
All Blocks Comparison
Each Easy Villagers block serves a specific purpose in Villager management. The table below compares their functions, timings, and automation capabilities to help you plan your Villager infrastructure.
Function
Default Timing
Hopper Support
Tips for Automation
Easy Villagers blocks work excellently together in automated systems. Here are some effective setups for maximizing your Villager infrastructure.
Villager Production Line
Connect a Farmer growing Carrots or Potatoes to a Breeder via Hopper. The Farmer produces food, the Breeder uses it to create babies, and an Incubator below the Breeder matures them into adults. This creates a fully automated Villager supply.
Step 1: Farmer (with Carrots) → Step 2: Hopper down to Breeder → Step 3: Hopper down to Incubator → Step 4: Adult Villagers ready for use
Trade Discount Pipeline
For the best trade prices, run new Villagers through the Converter before placing them in Traders. Set up a Chest with Golden Apples and Weakness Potions feeding into the Converter. Villagers exit with permanent discounts that stack with each conversion.
Emerald Farm
Combine crop farms with Auto Traders for passive Emerald generation. A  Farmer Villager buying Carrots or Potatoes pairs well with multiple Farmer blocks supplying the Auto Trader. The limiting factor becomes how fast you can supply workstation ingredients.
All Easy Villagers blocks remember their contents when broken. You can safely relocate them without losing Villagers, crops, or progress.
Frequently Asked Questions
Yes, Villagers retain all their data when converted to items. This includes their profession, experience level, unlocked trades, and any reputation modifiers from being cured. You can safely transport valuable Librarians or other traders without losing their offers.
Trade cycling is only available before you make your first purchase with that Villager. Once you complete a trade, the offers lock permanently. Cycling works only while the Villager has no experience at all, and curing it doesn’t reset its trades, so for different offers you’ll need a fresh Villager.
Nitwits cannot be assigned professions, so they cannot trade in Trader or Auto Trader blocks. However, they work fine in Breeders, Iron Farms, and Converters. Using Nitwits in Iron Farms is actually efficient since they have no other use.
The Farmer block only accepts vanilla crops tagged as Villager-plantable seeds. Farmer’s Delight adds Cabbage Seeds and Onions to that tag, so both grow in the Farmer block, whereas Tomato Seeds are blocked on purpose and Rice isn’t accepted. However, Farmer’s Delight foods may work in the Breeder if they provide food points to Villagers.


